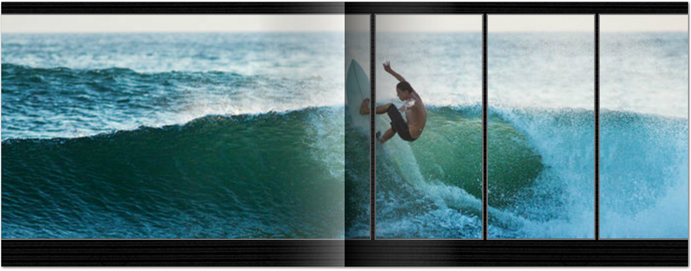
Easily Make a Photo Mosaic Layout with Mixbook. Here is How:
Today we wanted to show you a different way to create a mosaic photo layout in your Mixbook project. We know you’ve already got a variety of layouts to choose from, but more options have never been a bad thing, right? This post will take its inspiration from an old style of art: mosaics. Mosaics have been around for as long we can remember, creating beautiful art pieces with strategically placed colored stones. While these masterpieces take some time to produce, from the initial planning stages to the actual execution, we promise photo mosaics in your Mixbook project won’t take nearly as long.
To Start: If you haven't started a project in Mixbook , you can start a your very own photo book and click on the "start a blank book" button.
There are two ways to create this page: with equal sized tiles or more abstract tiles. All photo mosaic pages will start the same way. Drag the photo you would like to use onto the blank page. Next, enlarge the photo to your preferred size by dragging one of the corner red squares away from the center. This is also the time to do any zooming, if needed.
For Equal Sized Tiles: Resize your photo using the middle red squares. This will ensure that your photo is only cropped, instead of resized. Once you’ve reached the desired size, copy and paste that photo until you reach the correct number of tiles (determined by you, of course!).
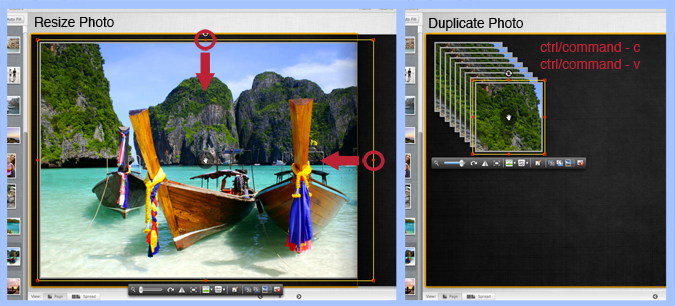
Next, place the tiles accordingly. We’ve created a 3x3 square, which has a total of 9 tiles. The last step is to pan the photo within the frame so that they match up with one another. We start from the top right corner and work our way across. Once all the photos match up, you’ve completed a beautiful photo mosaic.

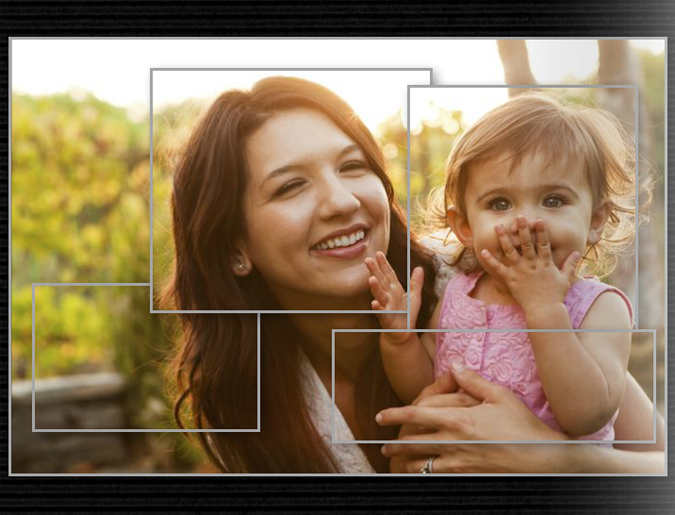
For Abstract Tiles: For this type of mosaic, we go straight to the copy and paste step. First, decide on the number of tiles you want to use and paste accordingly. For this example we’re going to use 5 tiles.
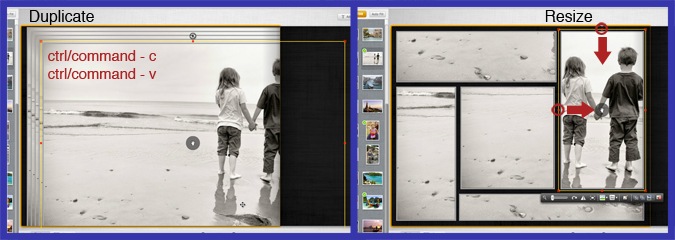
Because this is photo mosaic is abstract and free form, the resizing comes after the photos have been duplicated. Remember, when resizing the photos use the middle squares, instead of the corner squares. Resize each duplicated photo to the shape your heart desires, and place them in a satisfying layout.
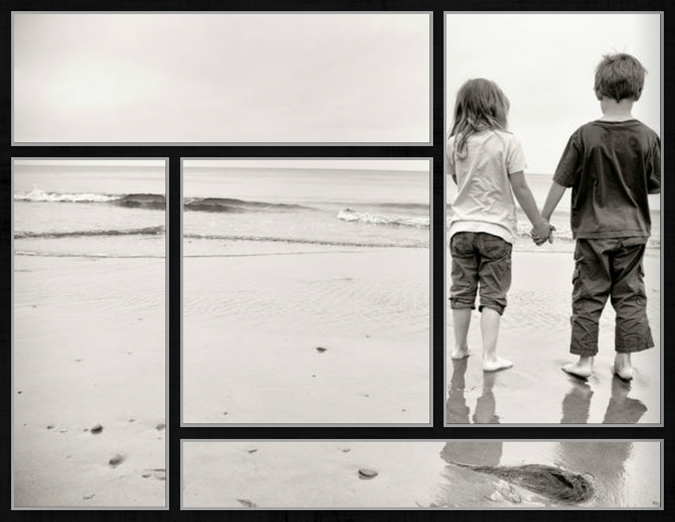
Now, all that’s left is to pan the photos so the correct portion is showing in the frame. You’ve now officially created an abstract photo mosaic!
*Insider Tip: When panning a photo, you will notice that the entire photo becomes visible. The parts inside the frame are clear, while the parts of the photo outside of it are faded. Use this as your guide to match the faded photo to the already positioned tiles.
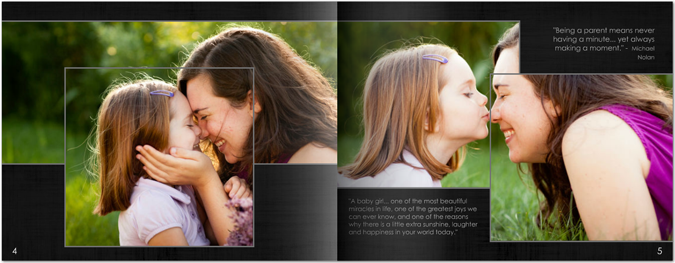
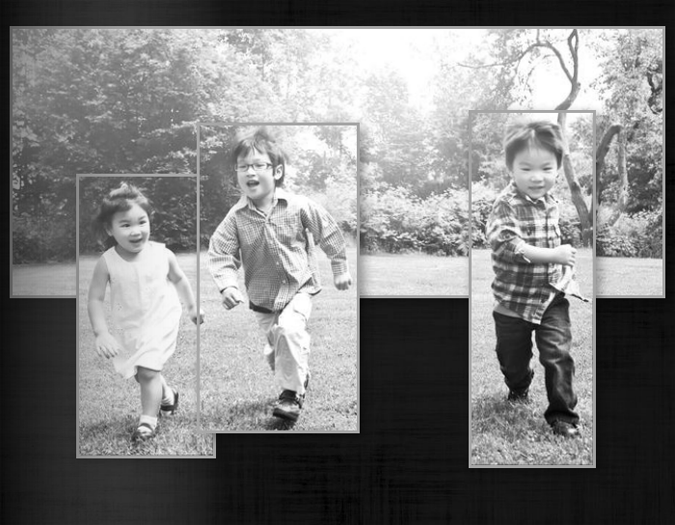
We love photo mosaics because they allow for so much creativity and no two photos can ever really be the same! Take inspiration from actual mosaics, the various layouts we offer in the “Layout” tab, and the various photo apps available on your smartphone! We invite all you Mixbookers to proudly post your beautiful artwork on our Facebook wall to inspire the rest of the community! To help you get started, we’ve got a few layouts posted below. :)

We can’t wait to see what you create with your photo book! Happy Mixbooking!


