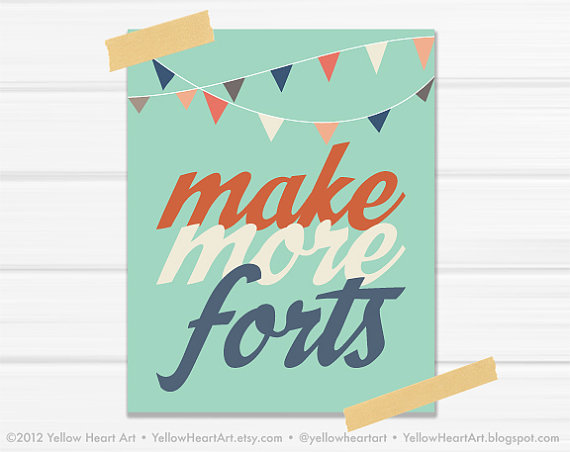
To create a cool birthday party invitation, start by dreaming up a unique party idea. Sure, there’s a time and place for taking shortcuts and booking your celebration at the local bouncy house birthday mill, but throwing a one-of-a-kind party will likely be a whole lot less expensive—and a whole lot more memorable. My idea for designing a party to remember includes building an awesome outdoor fort. At the Bay Area Discovery Museum just north of San Francisco, there’s a whole summer camp dedicated to building outdoor forts (my son is on the wait list!). And on Etsy, there’s a beautiful typographic art print with the words “make more forts.” That’s because building forts is cool—and people are finally giving this craft some well-deserved attention.

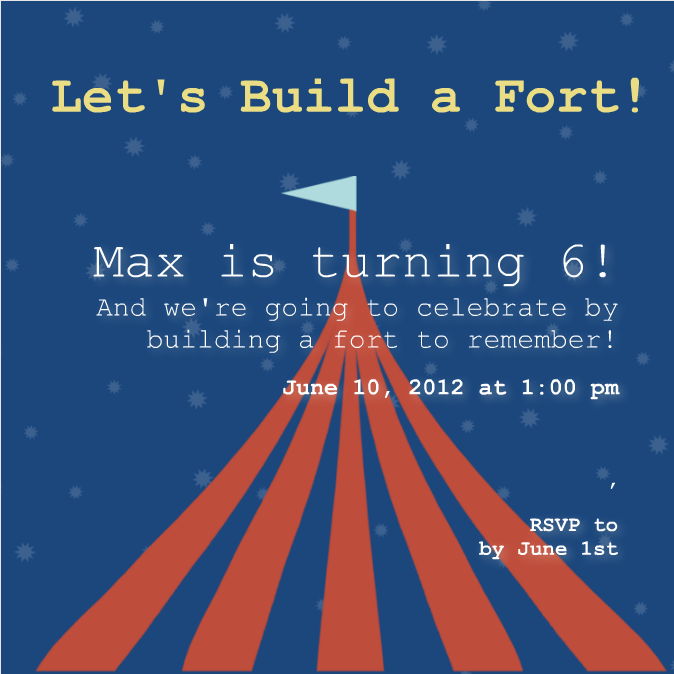
To create my custom birthday party invitation, I began by finding a Mixbook card template that looked roughly how I wanted mine to look. Mixbook guided me to simply add my details to the card, fill-in-the-blank style. But—like all Mixbook products—I was able to override the template and customize everything! Since there isn’t a fort-building birthday party invitation, I started by choosing one that I thought would act as a good starting point. I just as easily could have chosen a blank template and built my card from scratch, but I liked the deep blue background of the “Camping Party” template, and I also thought I might repurpose the tent image in some way.

To override the way Mixbook’s Editor defaults to entering all your information right into the template as is, click “I want to fully customize my card.” At that point your project is redirected to the Editor where you have full access to choosing backgrounds, stickers, and layouts of your choice. You can also, of course, upload pictures and change everything from palette to typeface.
I played around with the tent image to see if I could make it work for my birthday party invitation, but also clicked the “browse stickers” button on the sticker tab, where I found an image of a big-top from a circus theme that captured the spirit of fort-making. I used this iconic image as a giant sticker across the front of my son’s birthday party invitation, and then added my own details.

For the party itself, I’ll empty my linen closets (or my kids’ linen closets, rather), and have rope, a couple pulleys, and heavy-duty clips on hand. Before the party starts, I’ll rough out a general idea for how our fort will be structured so that I won’t find myself wielding a drill around half a dozen 6-year-olds. My plan is to have enough of the scaffolding done so that the kids think they’ve engineered the whole thing—but without any surprises for me. I’ll earmark a couple small Ikea tables and chairs, plus outdoor rugs for them to do a little interior decorating. I’ll also run an extension cord with a couple strings of lights so the kids can create festive lighting indoors.
Once the place is decked out and the kids have settled in, their new fort will be a fun place to share cake! Blowing out his candles in a fort he and his friends built will be quite the spectacle, so you can be sure that I’ll have my camera ready! In fact, I’ll be snapping shots throughout the entire project so I can create a birthday photo book when the party’s over!
Discover six genius less-mess fort ideas you and your kids will love!

