In one of our past Mixbook 101 entries, we briefly touched on the 2-page span button. This post will further explore photo spanning, giving you ideas and tips on how to best utilize this feature. We’re sure you’re all aware of how to use the spanning button - allowing part of the photo to spill onto the next page... but did you know this button is also very helpful in creating beautiful two page spreads? Utilizing your various camera settings will help create these beautiful spreads.
The first setting we’ll look at is the Panoramic setting.
When using this feature, your camera automatically changes to create a panoramic photo, as you will see in your viewfinder. This, of course, is the easiest way to create panoramic photos. Just point, shoot, and you’re good to go! Some cameras have a more advanced setting, where you can actually move your camera to capture more of the landscape. You can find this setting on cameras like Nikon’s COOLPIX digital camera.
 Another way to create a panoramic photo is to utilize your camera’s photostitch setting. When on this setting, your camera helps you take photos that can later be “stitched” together. The panorama guide will help match up your photos by displaying the previous photo on your screen to assist you in overlapping the photos. Check out our photostitching tips for more information!

Lastly, we take a look at your resolution setting. Normal photos can be turned into panoramic photos by cropping off a portion of the bottom and top, as shown in the examples below. Using the highest resolution will give you more options when placing the photo onto the page. Your ability to zoom and pan increases, allowing you to showcase any part of your photo – whether it’s a certain area, or the entire thing, you’re sure to get a great print.
How to achieve the two page spread The photos discussed above can take up the entire page or can more closely follow the style of a panoramic shot. Both layouts are simple to achieve.
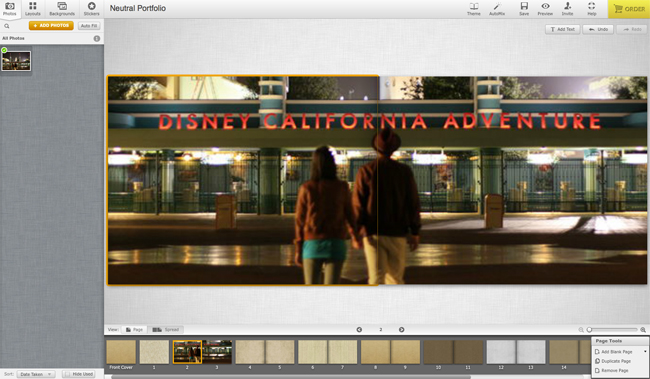
To achieve a full-bleed, two-page spread, place the photo onto the page and use the photo background fill button. Next, click the span icon to allow the photo to spill onto the next page. Lastly, drag the center red square across the page until it snaps to the opposite side. Doing so will ensure your photo is bled correctly and will give you the best possible print.
 To create a partial spread simply adjust the vertical sizing of your photo. Don’t forget to use our pan feature to display the perfect shot.
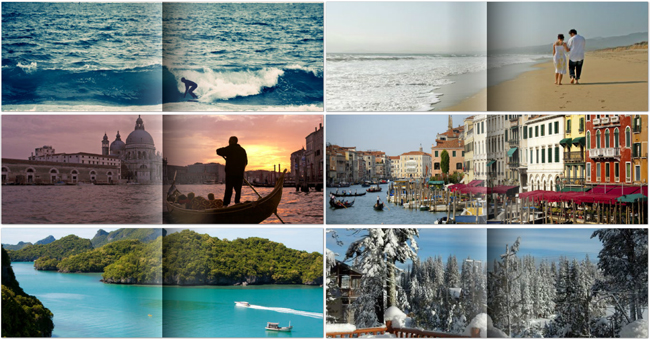
 For more 2 page spread ideas and inspiration, check out some examples below. We'd love to see your two page spreads as well! Share them with us on our Facebook wall. Happy Mixbooking!

