The New Mixbook Editor - Zoom, Rotate, and Adjust Your Photos
Welcome to the new and improved Mixbook editor! Today we will be showing you how to zoom, rotate, and adjust your photos. Our walkthrough will highlight these important features located in our photo toolbar.
1. Zoom Buttons
Click your photo to activate the photo toolbar. Use the first two buttons on the tool bar to zoom in and out of your photo. If you zoom in too close you'll get a red warning so you know how tight of a zoom you can apply.
2. Adjusting your photo
When zooming into a photo, you will notice a four-pointed cross icon appear in the middle of the photo.
This four-pointed icon allows you to pan around the photo within the frame. As you may have already noticed, when a photo is zoomed in on, less of the original photo shows. This icon allows you to move the photo within the frame, so you can show just the right part of the photo.
3. Rotation Button
This curved arrow signifies the photo rotation button. Clicking on this button will rotate your photo 90° to the right, in a clockwise direction.
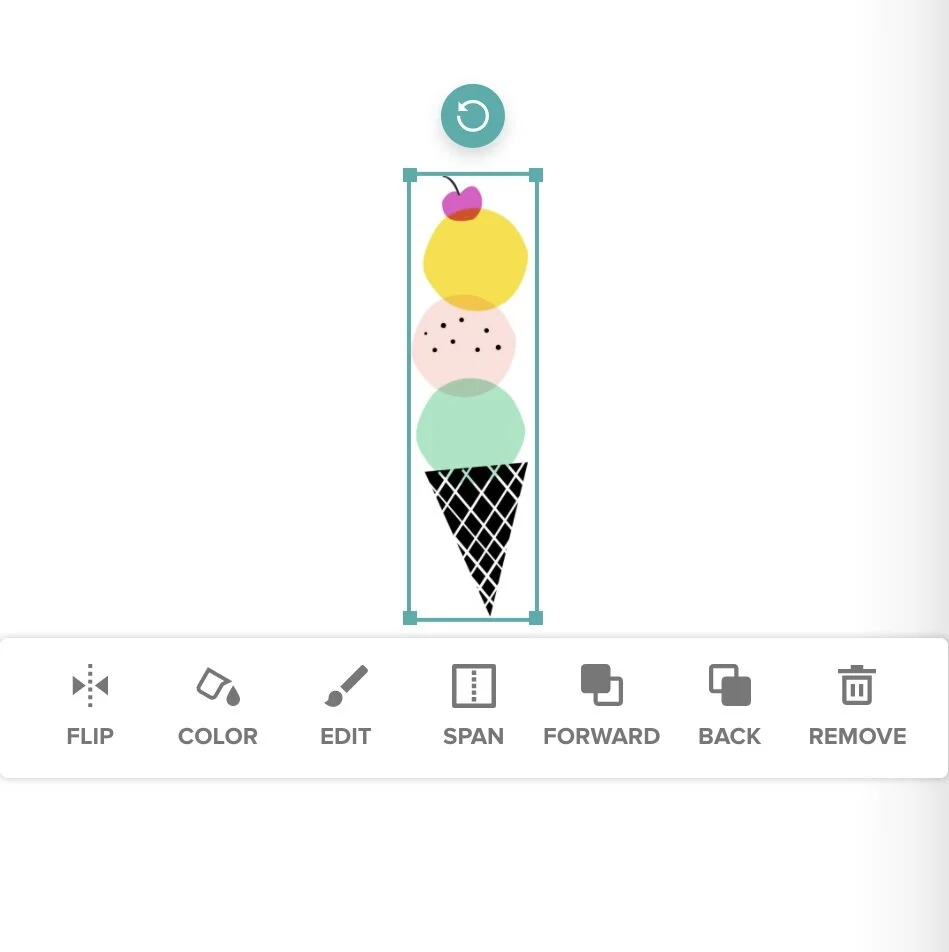
The editor also allows you to do free rotation. When you click on a photo on one of your pages, two curved arrows, creating a circle, will appear above the photo.
While the rotation button on the toolbar allows you to rotate your photos to the right, free rotation allows you to rotate the photo to the left and right, at any varying degree. Simply click on the curved circles (also known as the “Free Rotation Button”), hold down the “clicker” on your mouse, and move it to the left or right. The photo will move according to the direction the mouse is moved.
If you have any questions, please feel free to leave us a comment! Join us next week, when we continue to explore the options the photo toolbar has!
Need further assistance? Email us hello@mixbook.com.


