How to Change Your Photo Book Options on Mixbook: Size, Format, and Paper
If you've already created your photo book on Mixbook and want to change the size, format, or paper type, don't worry! This comprehensive guide will walk you through the process of easily adjusting these options for your photo book project.
How to Change Size, Paper, and Format
If you're unsatisfied with the options you initially selected, you can make modifications. While changing options directly in the editor is not possible, there's a trick to doing it after the fact.
Changing Size and Paper Type
You can easily adjust the size and paper type at checkout. Just select the desired options during the checkout process.
Adjusting Format
To change the overall orientation of your photo book to landscape, portrait, or square, use the copy function. Follow these steps:
Log into Mixbook and go to "My Projects."
Find the project you want to adjust and click "Copy."
Choose the desired format: square, landscape, or portrait.
Select the option to include photos, if desired.
Click the “Copy Project” button.
After a few seconds, your new project will be available for editing.
Tips for Maintaining Your Original Design and Layout
When changing the orientation of your Mixbook photo book, there may be slight layout and design differences. To make the most out of your design changes:
Enlarge photos to fill the space better when switching between square and portrait/landscape.
Check the orientation of chosen photos to ensure they fit the page well.
Utilize stickers and text to enhance your project and fill any blank spaces resulting from the orientation change.
Previewing and Editing Your Modified Photo Book
Always use the “Preview” button before ordering so you can make sure you’re happy with your changes. Previewing your photo book allows you to digitally flip through your book, so you can spot any design tweaks that may be needed. You can check that you're happy with your chosen stickers and decorations. You can also ensure all the photos go together with your chosen theme, whether that’s a simple look or something from our designer collection.
If you want to make more changes after previewing your creation, simply exit the preview and go right back to editing your photo book.
Frequently Asked Questions
Why can't I change the options of my photo book directly in the editor?
Once you’ve chosen the orientation or format of your photo book, all the recommended layouts are designed to fit this format. That’s why you have to copy your project to a new photo book project with a different format to explore how this changes the layout options. You'll notice that changing the orientation will often shift how the photos appear in your design, and you may have to enlarge or shrink them to fit the new space.
Remember, you can always wait until the checkout to adjust the book size and paper choice.
Are there any repercussions of copying a project to change photo book options?
You’ll notice a few changes, but none that can't be fixed with a little editing and attention to detail. After copying a project as illustrated above, the layout is different and some of your photos may not appear in exactly the same position on the page. Some photos may be cropped differently, particularly if moving from landscape or portrait to square. This is usually easy to adjust, and in many cases, copying your existing project to a new format is quicker than starting again from scratch.
Can I change photo book options after I've placed my order?
Yes, but be quick! You have a short window of about 30 minutes to make any changes. After that, the order is finalized and sent for printing.
Are there any limitations on which options can be changed and how?
You cannot change size, format, or paper type within the editor. You can adjust the paper type and size at checkout, but to adjust the format, you must use the copy function explained above.
More Photo Book Options Available with Mixbook
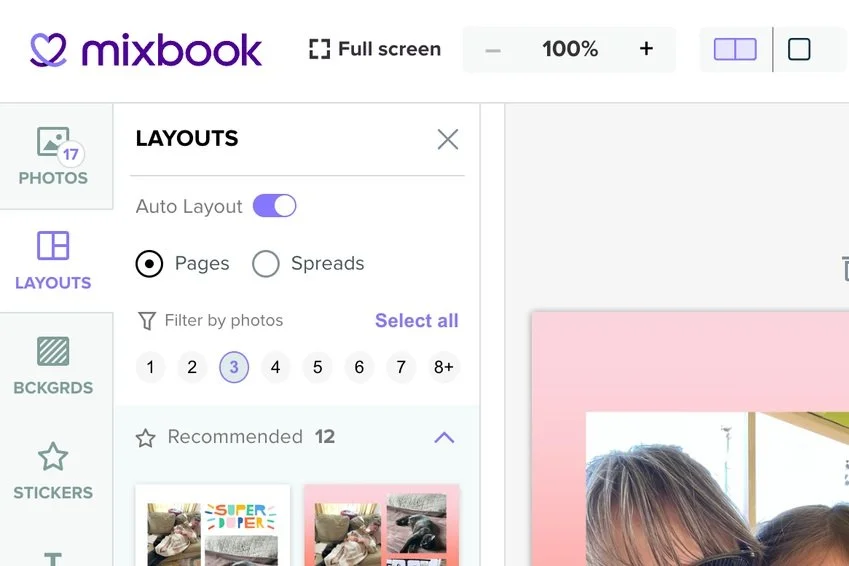
Whether you’re creating a year-in-review photo book as a gift or simply indulging in some digital scrapbooking, there are numerous options for making great use of your photos with Mixbook. Use the tabs down the left-hand side to adjust your background, add stickers, or add text in the font of your choice. For each photo, there’s also an editing taskbar that allows you to flip, rotate, or even change the shape of pics.
For newbie Mixbookers, there’s even a handy “Help” button and a guided tour of the editor.
Photo books are a beautiful, space-saving, long-lasting alternative to traditional photo albums, that make ideal keepsakes and heirloom gifts. Bring your memories together — get started with Mixbook today.


