Photo Book Layouts: Made Simple
When it comes to creating a photo book layout, Mixbook’s photo book layout editor is extremely user-friendly and provides almost limitless options for customization. To create a final product you can be proud of, we gathered together some tips you can try in our online editor to make the most of your photo book layouts, no matter the type of photo book you are creating. Here are a few ways you can use our editor when creating a photo book.
1. Adding Text
Photos with accompanying text can really bring your photo book to life. Dates, names, captions, or stories add another layer of depth to your photo book images. On the left of the screen, click the ‘Text’ tab and the text menu will pop up. From here, you can add a snippet of text, and edit the style to work with your photo book layouts. You can choose your font, size and color to perfectly complement your overall theme.
2. Go Full Tilt
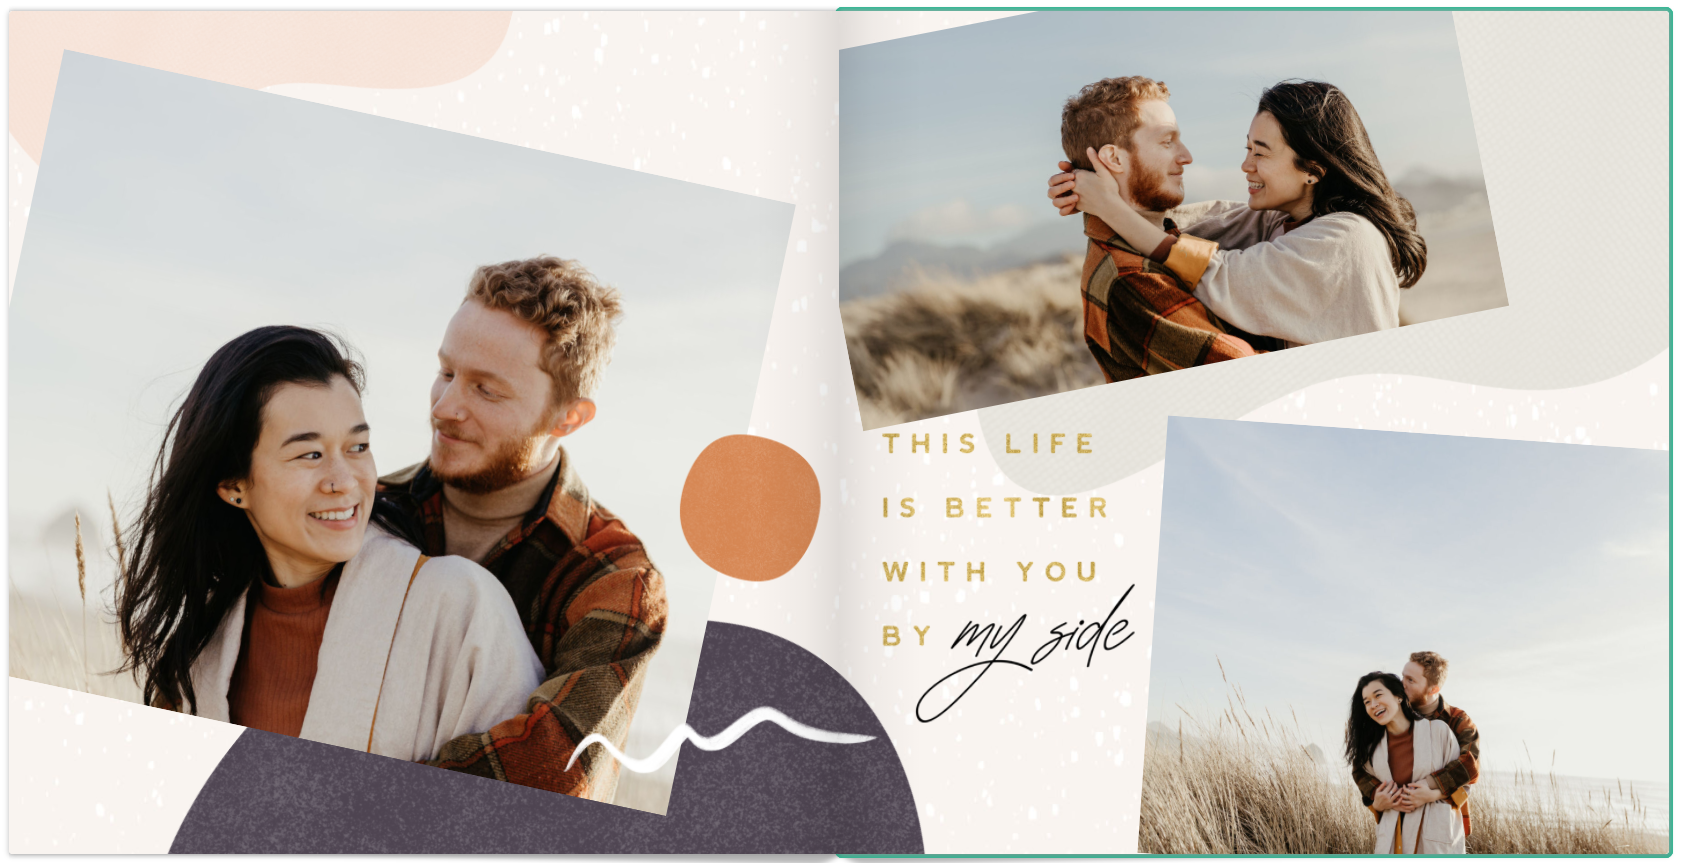
A slightly tilted photo on a page adds an artistic flair. Tilt images, layer one on top of another, and add words and phrases that help convey the emotions you felt at the time of the featured event. Sprinkling quotes throughout your layout (using the add text tool) is a great way to express how you felt during the special moments you’re memorializing.
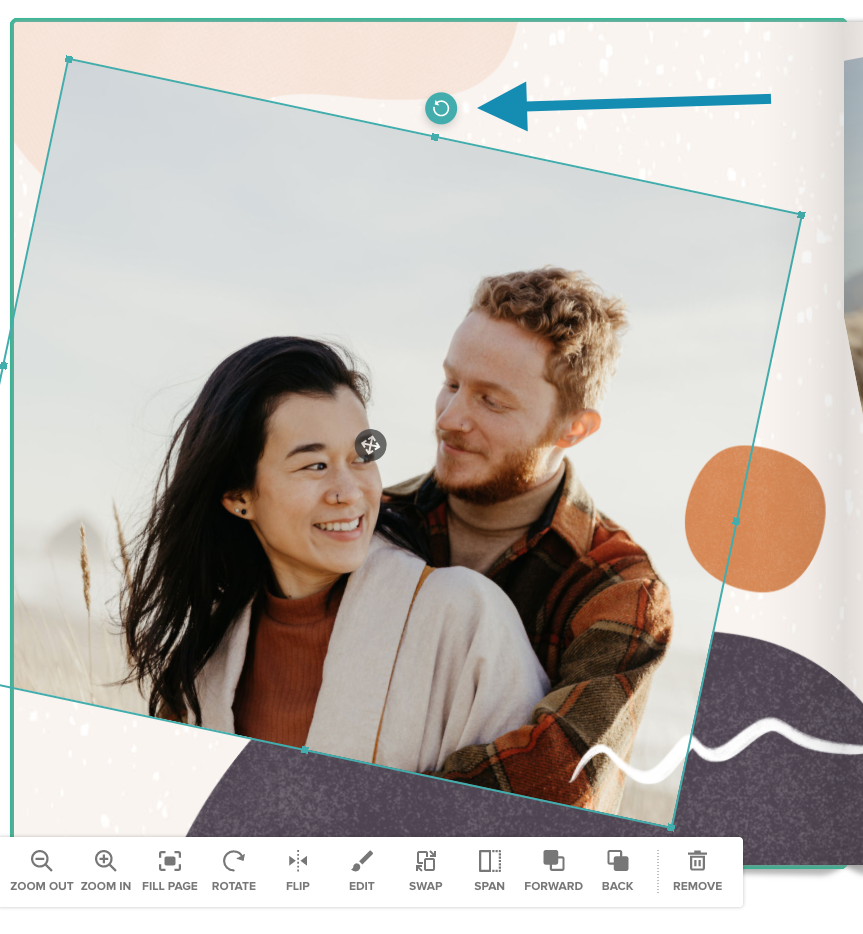
To tilt photos, click an image, and click and grab the rotate tool, then freely rotate your image.
3. Experiment with Stickers
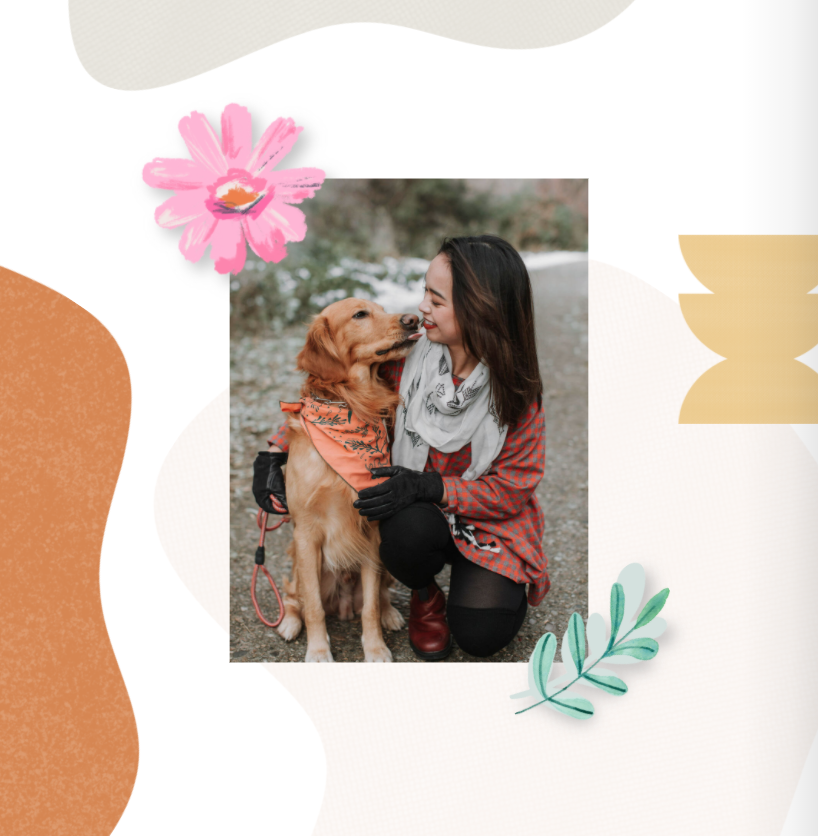
It’s not only fun to add stickers to your layout, but it's also an effective way to create a charming photo book that's full of dimension. Experiment with different stickers to achieve a handmade effect. Click the sticker tab on the left of your page, and all kinds of fun shapes, sayings, icons, and images will be available to select. You can easily change the size, color or placement. Layering stickers from the same theme creates a beautiful, professional digital scrapbook effect. Favorite the stickers you love by clicking on the heart icon on the sticker and they’ll be available for quick access in all of your photo book layouts.
4. Use Simple Framing
Simple Gold Whimsical Theme
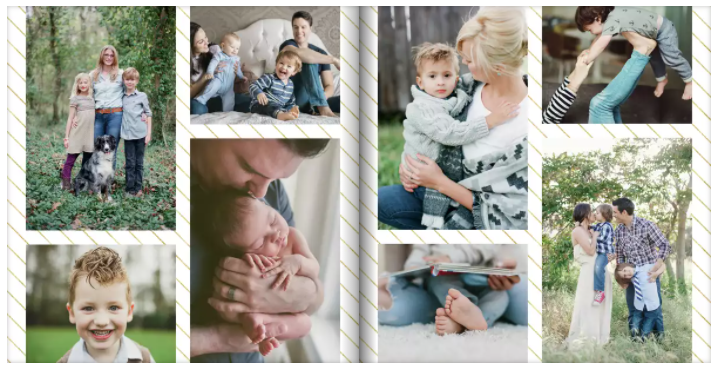
If a modern, professional-looking photo book layout is your aim, try placing images on a page in a way that keeps in line with a traditional (albeit imaginary) grid. Add interest to your layout by increasing the size of some photos to expand into one or two “boxes” of your grid.
5. Minimize Distractions
Minimal White
While stickers and embellishments are charming, they can also work against you if you want to keep the focus on your photos. When you opt-out of layering stickers and text on your pages, you'll end up with a clean photo book layout that you’ll be proud to show off.
To easily fill an entire page with one photo like the example shown, select/click the photo you want to fill a page and in the toolbar beneath the photo click the "fill page" tool. This will also automatically ensure the photo has the correct bleed on the edge for perfect printing.
One key design element that distinguishes professional layouts is the negative space around and between photos. Create a path for your eye to travel from one image to the next with ease. Not only does this technique make it easier to visually digest photo book pages, but it also gives each photo the prominence it deserves.
6. Have Fun with Frames
Adding a frame to your photos mixes up the page layout and adds visual interest. Within Mixbook’s editor is a fun set of preset shapes or ‘frames’ that you can apply to any photo. In your page layout, click on the photo you wish to frame. A toolbar appears at the bottom of your photo. Click ‘edit’, then ‘shapes’, choose your style, and click ‘done’. Your photo will now appear framed in fun shapes like circles, stars, hearts or triangles. Tip: Selecting “apply all” will make every photo on your spread appear in the same shape or frame.
7. Fill a Photobook in Minutes
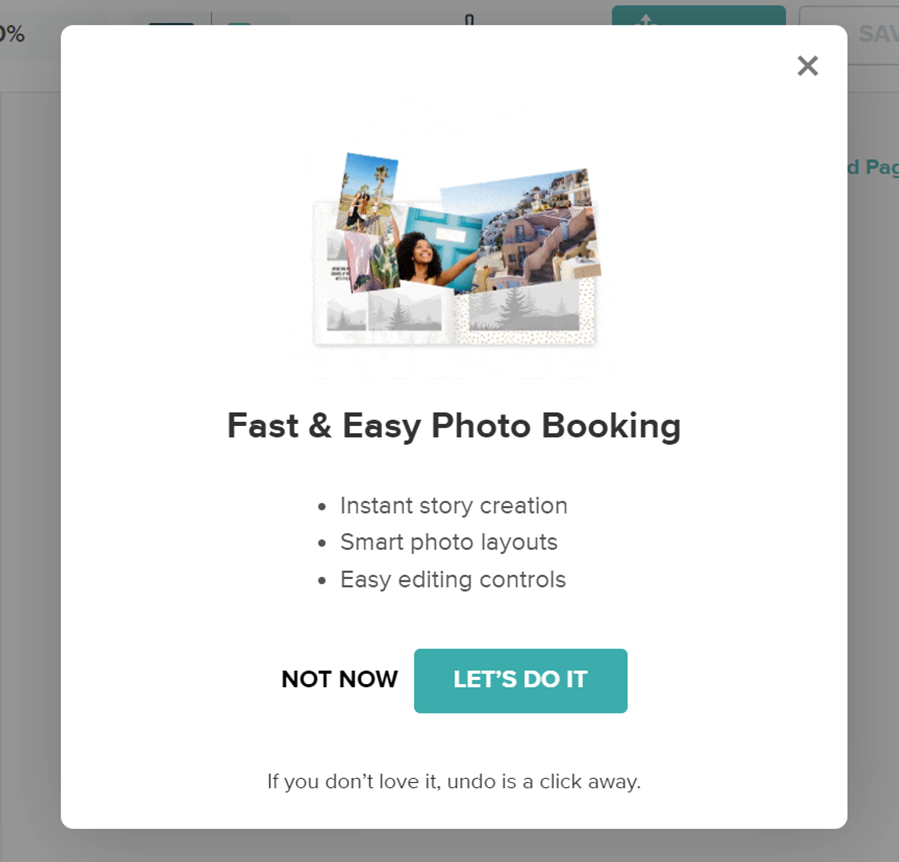
For a quick and easy way to fill an entire book with photos, try our Automagic Creation tool, which automatically populates beautiful and sleek photo book layouts with your selected photos. You can use this amazing function to do all the work for you! Once you’ve chosen your photos and you select 'Add to Project', click the magic wand "auto-fill" icon on the left panel, and you will see a pop-up window (as shown above) showcasing our "Automagic" feature for fast and easy photo book making. Click 'Let’s Do It’ and watch the magic begin.
These simple tips can level up your layouts, mirror your moods and showcase your style. Our easy editing tools offer endless possibilities when creating a photo book. It's easy and fun to customize your photo book layouts like a pro. Why not start creating right now?


