How to Make Your Own Marbled Holiday Ornaments
How to Make Your Own Marbled Holiday Ornaments
Marbled holiday ornaments are a beautiful addition to your tree - and they're surprisingly simple to make. Couple these homemade ornaments with a holiday memory book that includes photos and stories of past Christmases to create the ideal gift for your parents, grandparents or other family and friends.
Marbled Christmas Ornament DIY: Supplies
Start by gathering these supplies:
• Clear plastic ornaments
• Satin-finish acrylic paint (at least two colors, but as many as you'd like)
• Plastic cups for drying the ornaments

How to Make Your Own Marbled Christmas Ornaments
Pop the metal tops off your ornaments so you can pour paint inside. Keep them all together - we like to keep them in an extra plastic cup - so you can put them back on when the paint dries.
Once that's done, you can start preparing your paint.
Mix about 3 tablespoons of paint with 3.5 tablespoons with your pouring medium. Pouring medium helps create a thicker consistency and keeps the colors separated.
How to Pour Paint for a Marbled Effect
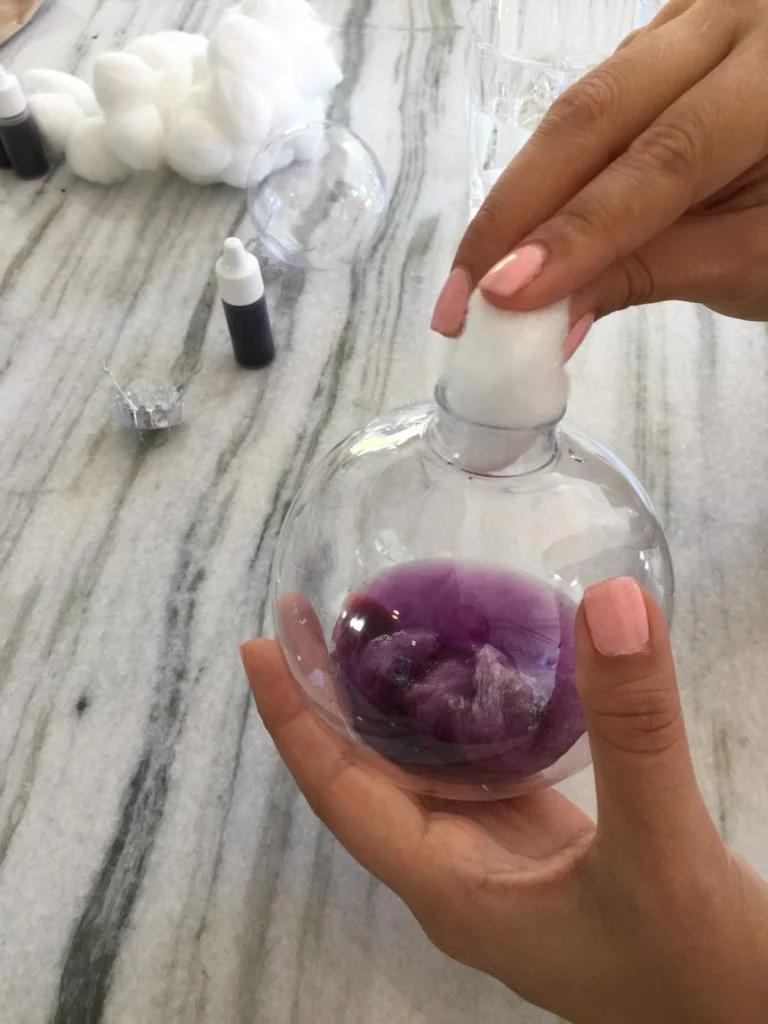
The key to pouring paint into your ornaments is to work slowly and in small patches. Pour a small amount of paint inside an ornament - just a few drops. Then switch colors and pour in a few more drops. Continue working your way around the inside of the ornament with paint, and be deliberate about where your paint lands. Try to cover most of the "empty" spots inside.
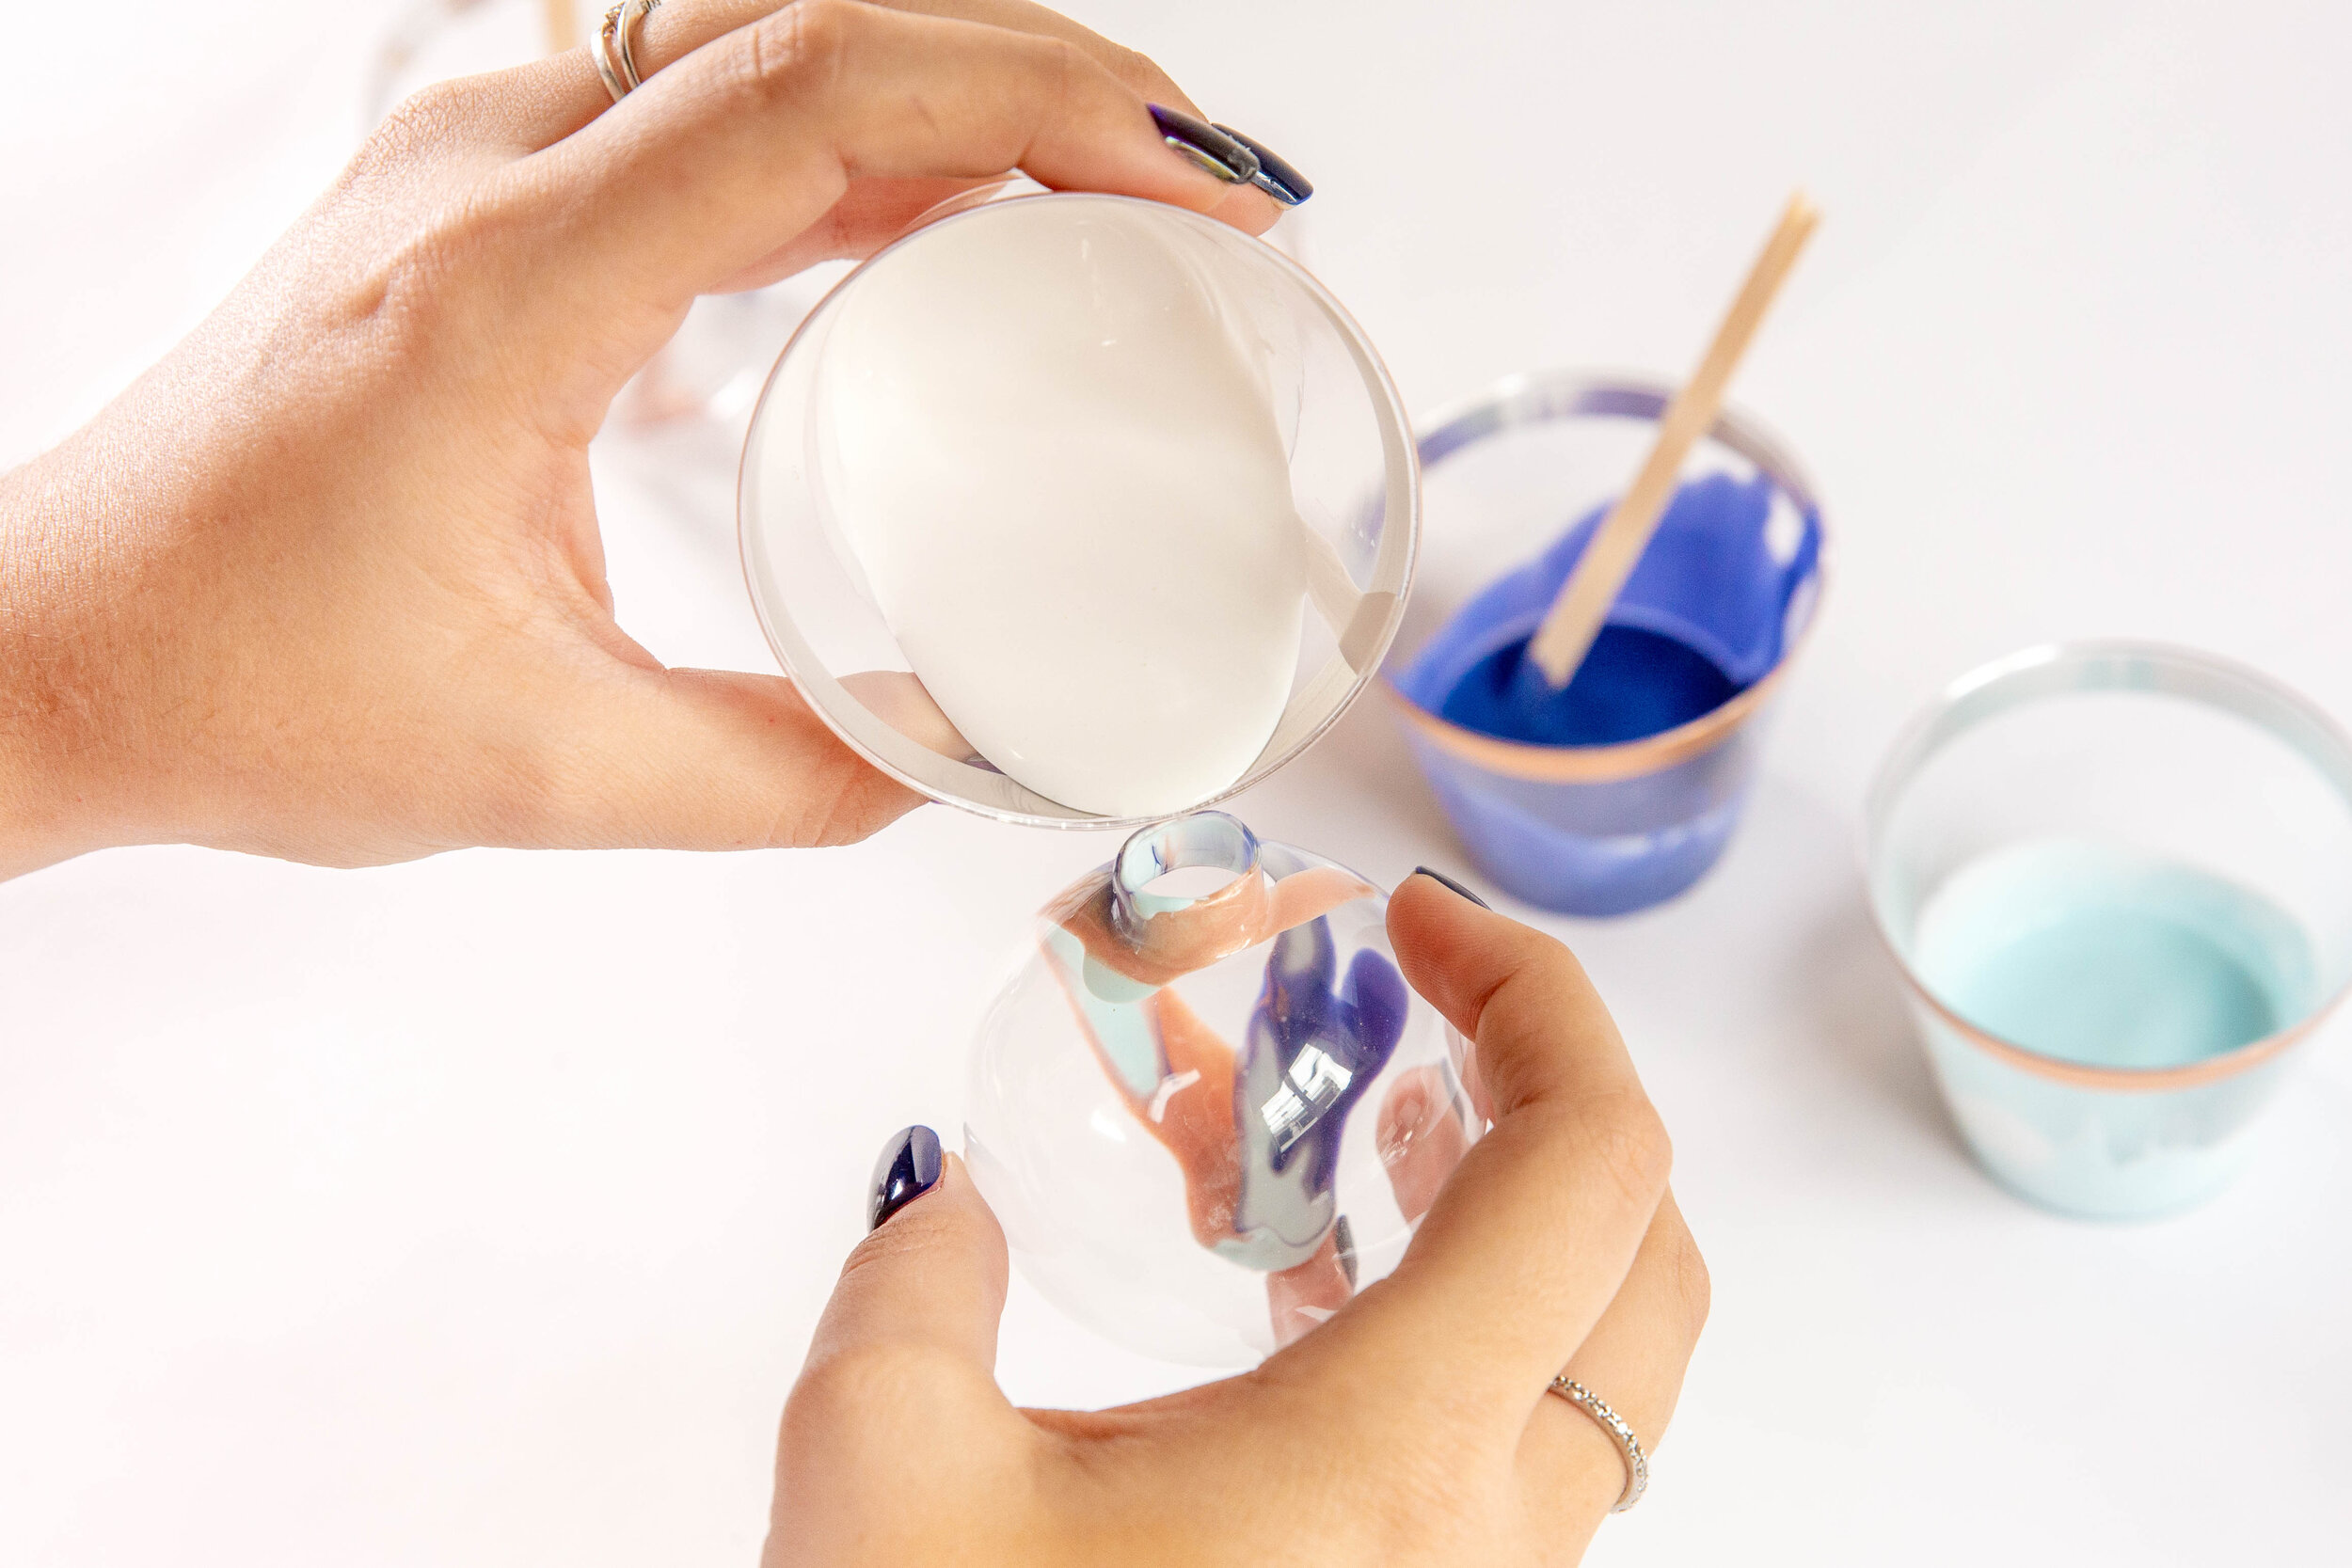


As you turn the ornament to cover all the empty spots, it'll start to blend together. You'll still have to turn the ornament slowly when you're finished dripping paint inside to create a marbled effect, but do so slowly. When all the empty spots are covered, you can tip your ornament upside-down over a plastic cup so excess paint can drip out. Remember, though, that the paint will continue to move inside the ornament until it's dry - so you may want to move it occasionally over the next half-hour.

Tips for Making Gorgeous Marbled Ornaments
Use these tips to make sure your ornaments come out just the way you want them:
• Don't use too much paint. The more you use, the longer it'll take to dry - and your marbled effect won't be as strong, because one color will overpower the other.
• Pour paint slowly. That way, it won't bubble up while it's inside your ornament.
• Turn the ornament gently and slowly, giving the paint time to blend.
• Don't be afraid to use colors you love. While black-and-white marbled ornaments go great with just about anything, you can blend neon colors, neutral colors or any other combination to create visual interest.

You might go through a couple of ornaments before you nail down your technique, but if you work slowly and deliberately, you'll be creating gorgeously marbled pieces before you know it.

Have You Created Your Own Marbled Holiday Ornaments?
If you've made these yourself, we'd love to see the results. Share your photos with us on Instagram (we're @Mixbook) or drop a link in the comments. You could inspire the next big DIY-er!