Designing a unique photo book with poetry on my iPad
By Dorothy Bond
Creating a photo book with Mixbook Studio is always easy. That's why I knew I wanted to go through the company to design a printed volume of my own poetry. But between working and running family errands, I didn't know if I had the time to sit down at my computer and make a book.
Then I thought of the Mixbook app for iOS. I could easily upload photos and paste my poems over from my iPad to create a photo book. Here's a step-by-step look at how I made a photo book on my iPad.
1. Download the Mixbook app
Downloads from the app store to my iPhone always appear on my iPad too, so I already had the Mixbook app on my device.
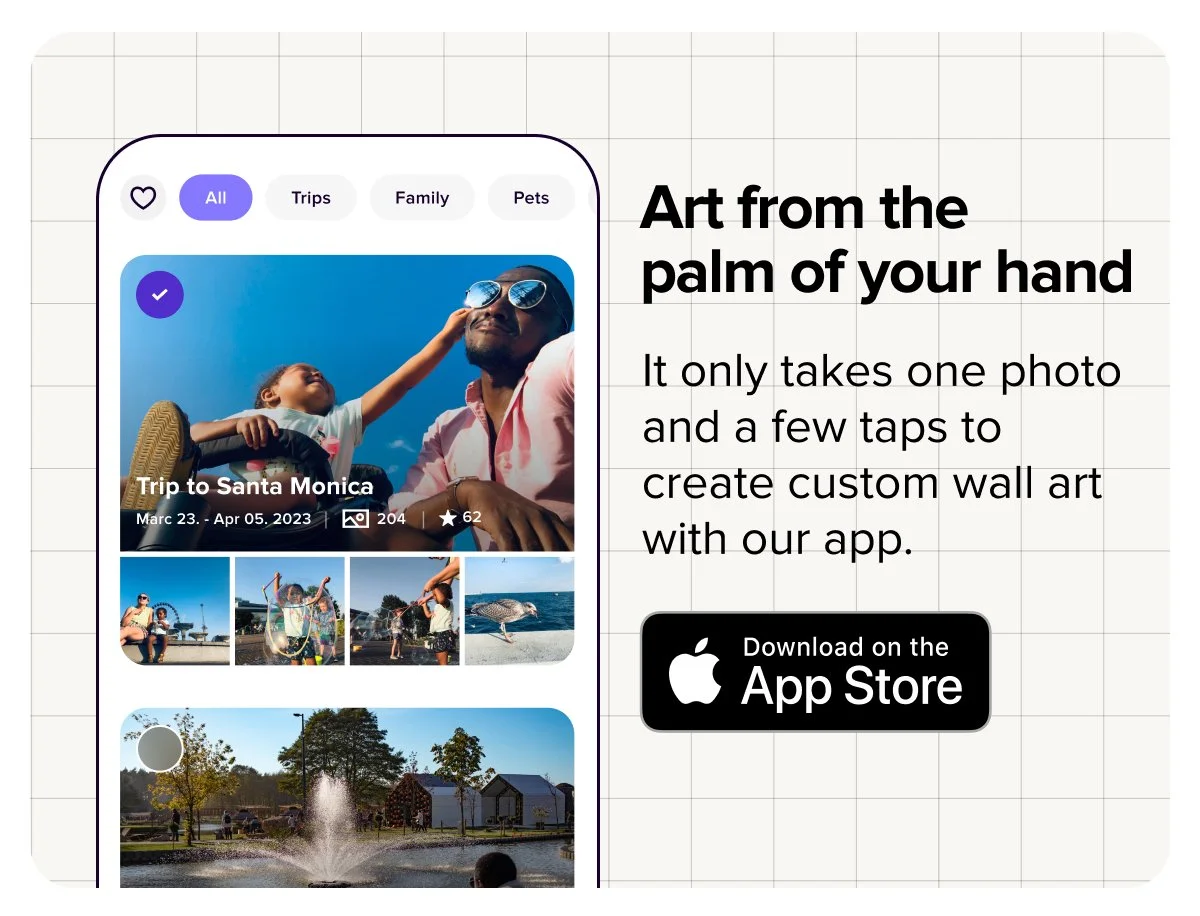
If you need to download the app, you can do so via the link below.
2. Select and prepare your poetry and photos
I knew I wanted to make a photo book to show off my poetry, but you can use this format to create a portfolio with any type of art. Of course, you can make a more traditional album-style photo book with your favorite shots too. One of the best things about the Mixbook app is that it allows you unlimited creative possibilities.
If you're working with a lot of text, copying and pasting it into your Mixbook project from an outside document is a great idea. I went through my poetry, picked a few of my favorite pieces, and saved them in a Google Doc.
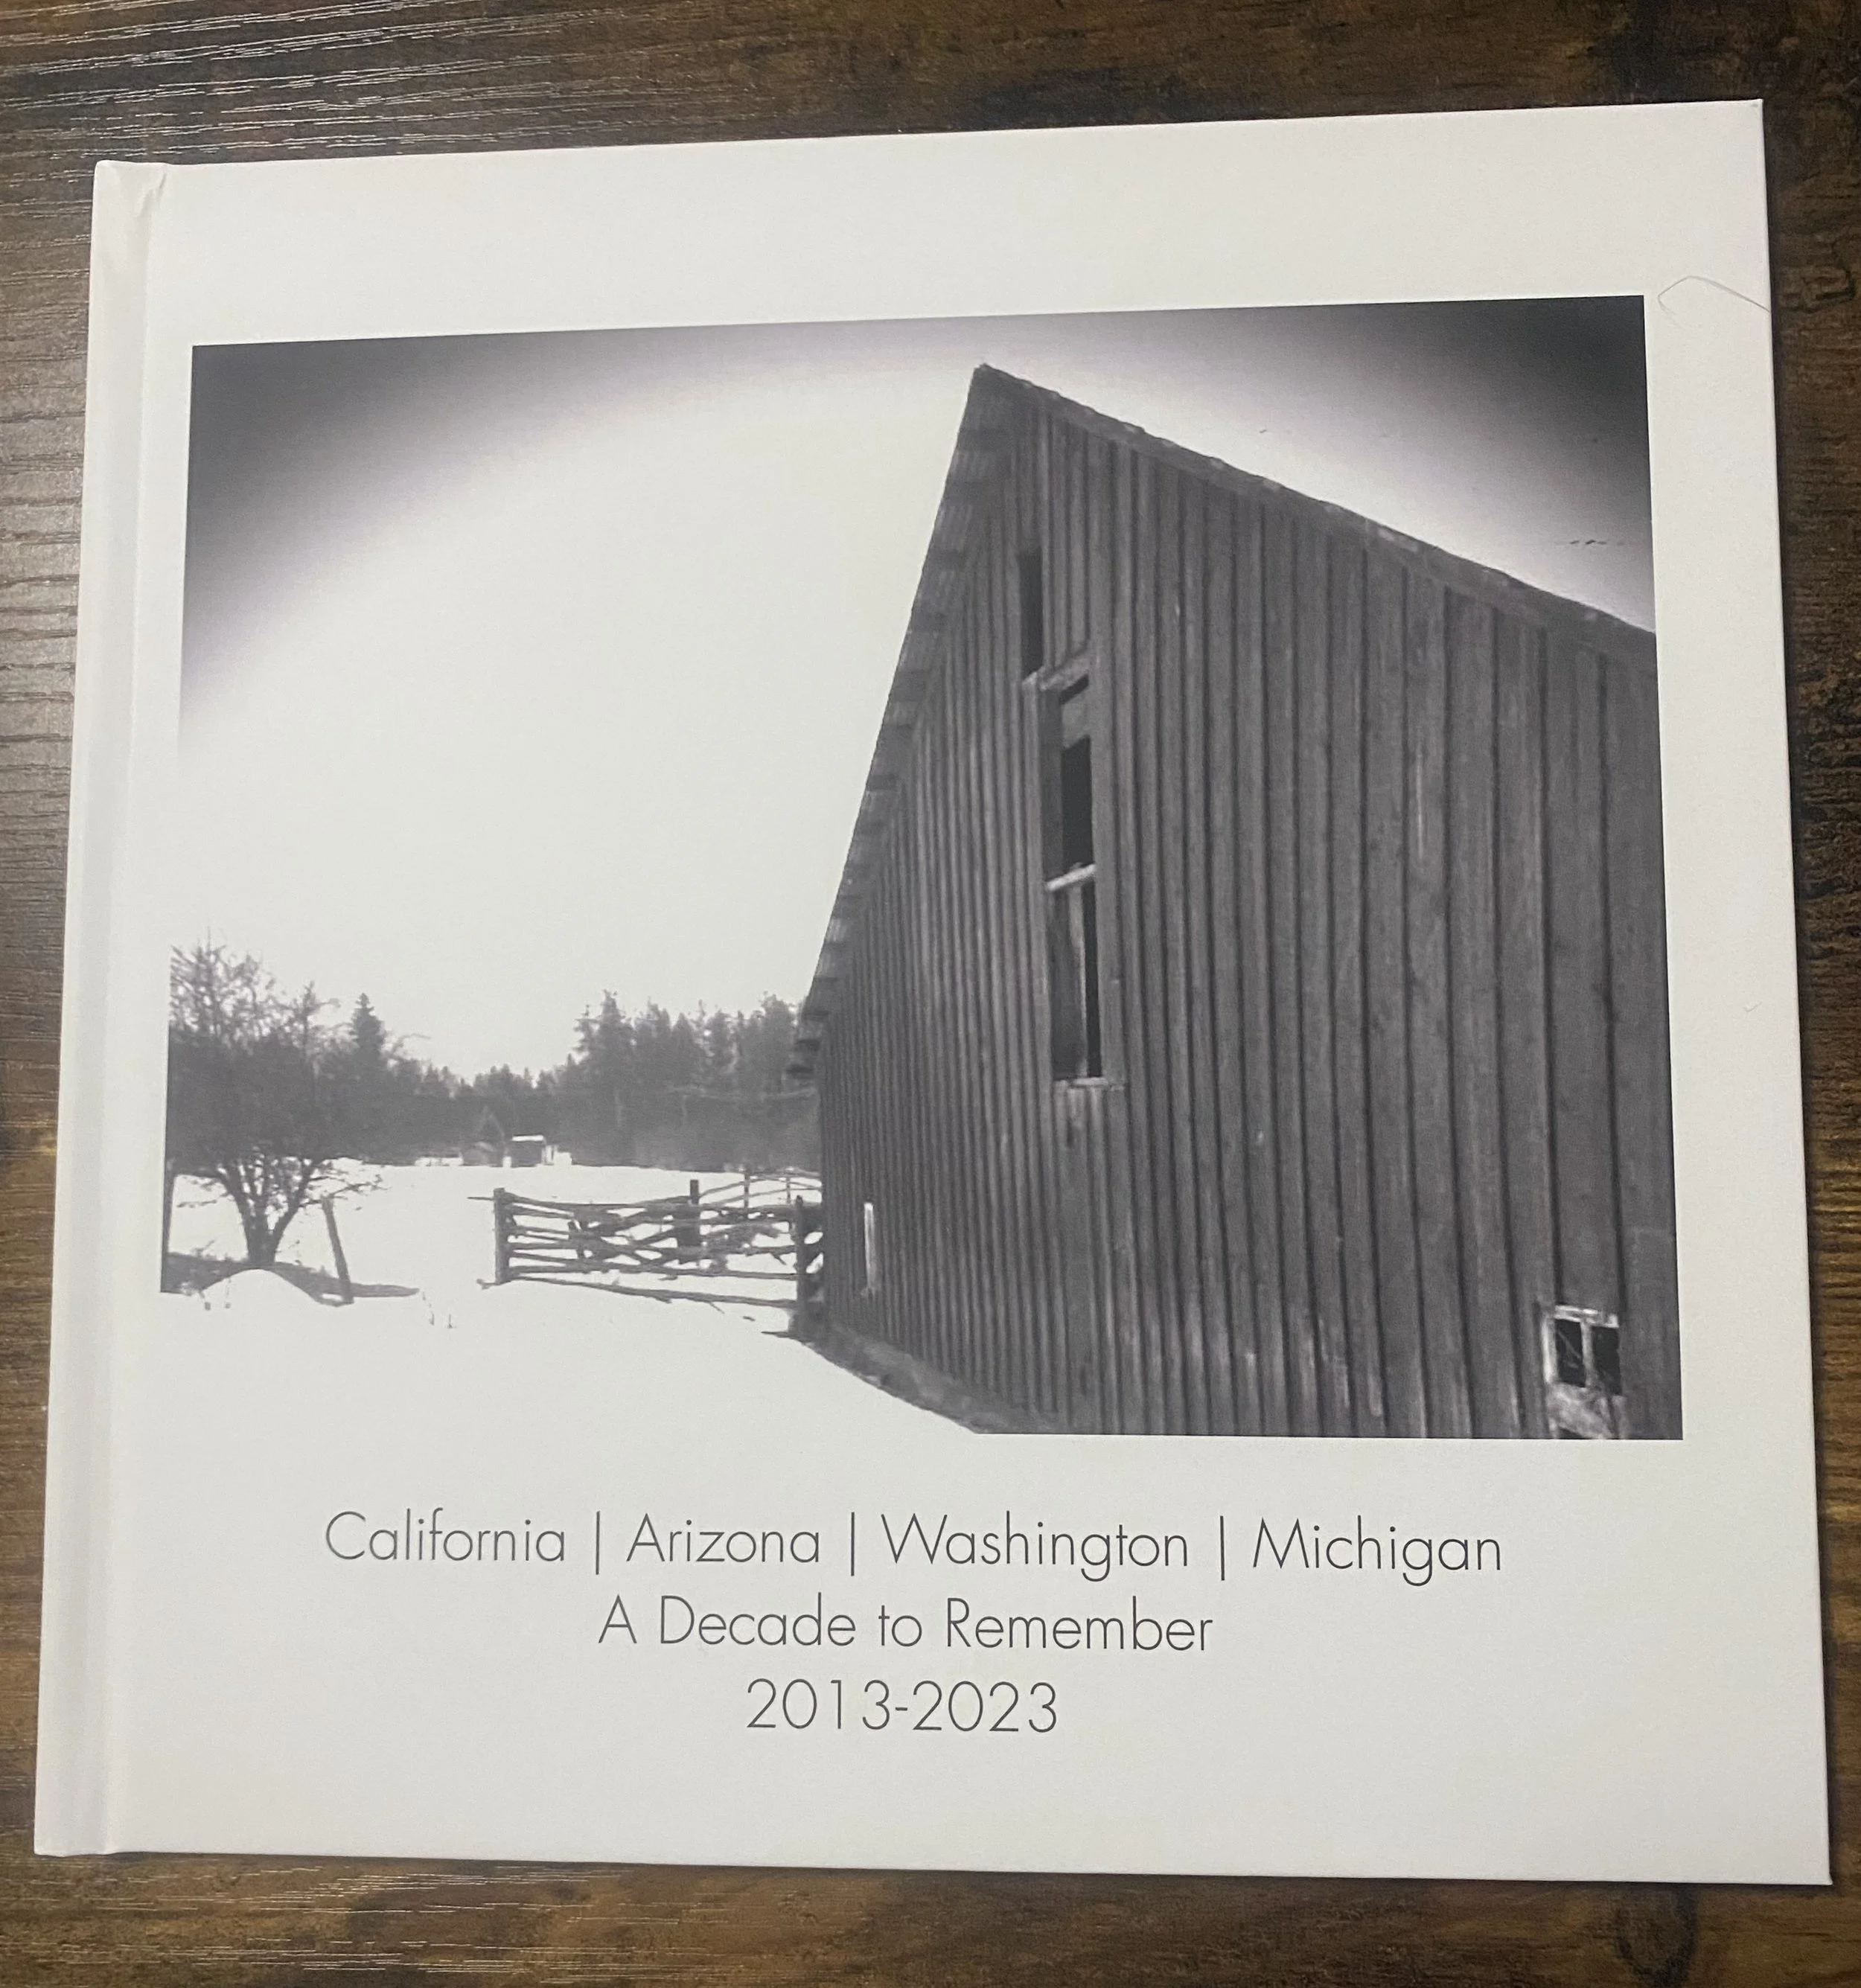
Many of my poems were inspired by specific places I've been. As I chose my poems, I thought about the kinds of graphics or photos that could represent them. Because the spirit of my book is creative, I chose artistic shots and self-portraits.
3. Pick a Mixbook theme
Selecting the right theme is essential no matter what type of photo book you're making. The theme sets the tone for your album. It also provides a color palette and other assets to work with, including theme-oriented:
Backgrounds
Stickers
Fonts
Page layouts
Mixbook also has a variety of themes that are great for text-heavy designs like cookbooks, memoirs, and creative writing books. I started my search in the simple photo books category.
These themes feature basic layouts that are perfect for both photo-forward and text-centered designs. I chose the Single Photo Layout theme because I wanted to use some of the formatted photo blocks for my pictures. I liked the backgrounds that were suggested when I opened the theme too.
4. Upload your photos
Once you've started a project, you can add photos to it. There are three ways to add photos to your Mixbook project:
Import them from another Mixbook project that you've worked on
Upload them directly from your iPad, iPhone, or computer
Transfer them from another service like Smug Mug, Google Photos, Instagram, or Facebook
I uploaded some of my photos from my iPad and transferred a few others over from previous Mixbook projects. It's okay to upload more photos than you plan to use for your project. I usually do — I need to see how my photos look in the layout before I can decide if I'm going to include them in my book or not.
5. Create a cover page
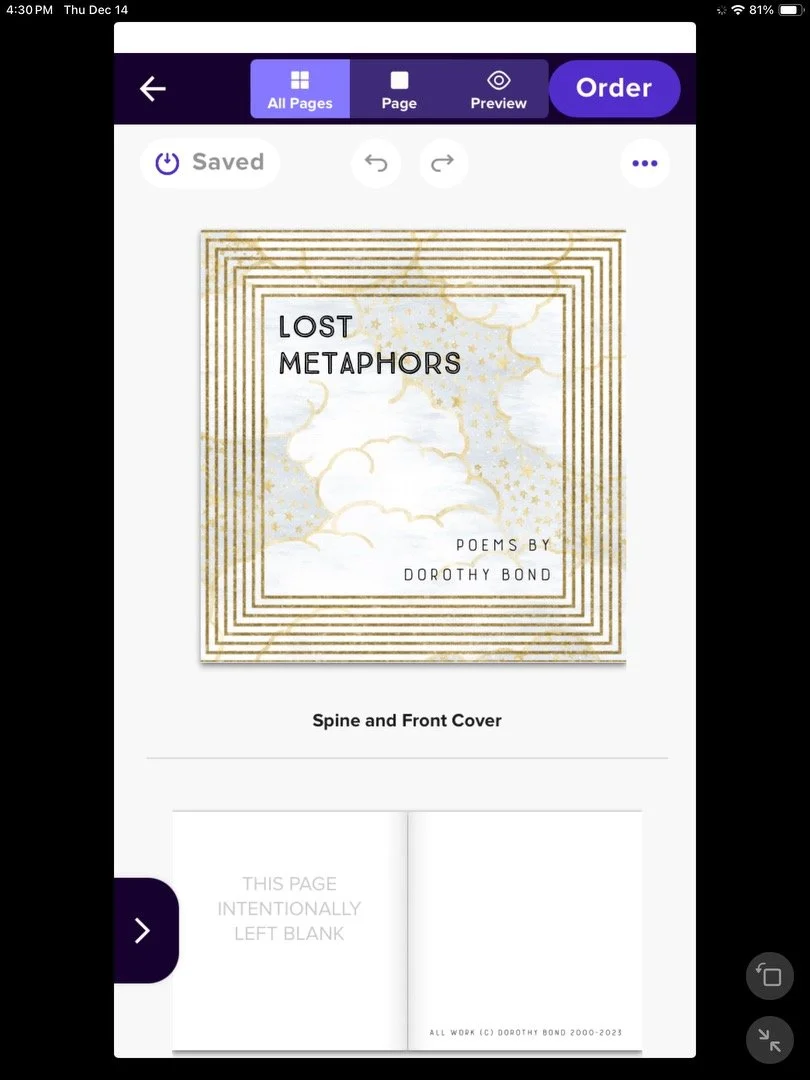
When I sat down at my iPad to start designing my photo book, I wasn't sure what kind of cover art I wanted to go with. None of the photos I'd loaded for the project stood out. So, I started browsing the backgrounds instead.
I immediately saw a celestial-themed background that caught my eye. I added it to my page, then added text boxes for my title and name. To change the font in your text box, you simply use the toolbar at the bottom of the Mixbook Studio on your iPad. You can adjust font size and attributes like bolding and italics from this toolbar.
My design looked good, but I thought it needed a little something extra. Thankfully, Mixbook has a variety of stickers that look like photo frames. I picked this shimmering frame, resized it so that it would fit the entire page, and moved my text boxes around for a balanced design.
6. Place text and photos on each page
Mixbook has an awesome AutoCreate tool that will insert your photos into your photo book theme instantly. I'm a big fan of AutoCreate, but I knew that it wouldn't work for a poetry book, as it wouldn't leave enough blank space for me to add my poetry. Instead, I went through each page and pasted over poems that I'd saved in my outside document. I then used the keyboard on my iPad to adjust line breaks and other errors as needed.
The font and text tools on Mixbook Studio work a lot like their counterparts in word-processing programs. You can adjust the alignment of text quickly from the toolbar at the bottom of the app. I left-aligned all of the poems throughout my book.
If you're placing text on consecutive pages of your photo book, pay close attention to text box alignment. Mixbook Studio gridlines will automatically turn yellow when your text boxes are aligned across the top.
After I pasted and formatted my poems, I added photos to select pages. I knew that I wanted to edit them after I picked my backgrounds, so I didn't worry about alignment or sizing.
7. Adjust backgrounds and edit photos
Backgrounds are a great way to add the illusion of texture to any of your photo book projects. They can also be used to add a pop of color and structure your layout. For my poetry book, I chose backgrounds that I felt corresponded to each poem. You can also choose backgrounds by:
Focusing on a common attribute, like watercolors
Searching terms like "geometric" or "rustic"
Browsing backgrounds by photo book theme
Filtering results by color
Here's what one of my finished pages with a geometric background looks like.

As I added backgrounds to pages with photos, I realized that I could create something artistic with the help of Mixbook Studio's built-in photo-editing tools. To use these tools, simply:
Click on the photo you want to edit
Scroll through the tool options at the bottom of your screen
Pick the tool you want to use and make adjustments
You'll find brightness, saturation, and contrast tools under the "Adjust" button.
For this project, I dropped the opacity of my photos to 40%. I loved the faded look of the photos against some of my chosen backgrounds. I also used the "Shape" button in the photo editing toolbar to make all of my photos round. You can move your photo around within the shape to adjust cropping.
Here's what a finished page with backgrounds and photos looks like compared to an unfinished page.

I didn't worry if the formatting and color schemes on some pages were different — I liked the final effect.

8. Preview the photo book on your iPad
I worked on my photo book on my iPad whenever I had a little bit of downtime, and I was so excited when I finished it. I just wanted to get it ordered and display it on my bookshelf. But I knew that previewing and proofing my design was important — it's the only way to catch errors that you don't want to see in your finished book.
When I opened the Preview pane in the Mixbook app, it immediately displayed an error message for one of my photos. I reviewed that message, which alerted me that the print quality of an included photo might be poor. I removed that photo and replaced it with a high-resolution version of the same picture instead.
I scrolled through each page and read the text to be sure there were no errors. I also paid attention to factors like:
Text alignment across pages
Photo placement issues
Missing backgrounds
Borders and text placed outside of margins
9. Order and unbox your photo book
I love hardcover photo books, but I wanted to try out a softcover finish for this poetry book. You can use this guide to choose the best format and materials for your project. I opted for standard shipping, entered my payment details, and completed my order.
I was so excited to get my book in the mail that I tracked its progress every day — and I was thrilled when it finally arrived! Are you ready to get excited about the photo book you made on your iPad? Get started on your next photo book project today in the Mixbook app today.