How to Copy Your Photo Book
Today we’re teaching you how to copy any of your favorite Mixbook photo projects!
How to Copy Your Photo Book or Project
It all starts on the My Projects screen. Look for the project you want to copy. Make sure that you are looking in the correct tab. There are three tabs in My Projects: In Progress, Ordered, and Archive. In Progress will hold all the projects you have not ordered yet. Ordered will show all your ordered projects. The Archive holds the projects that you have archived.
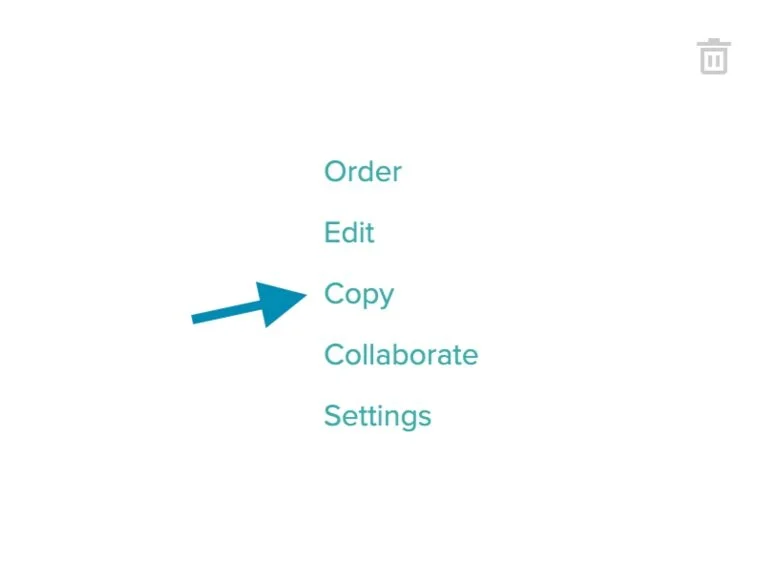
To the right of the project you want to copy, you’ll see the copy button.
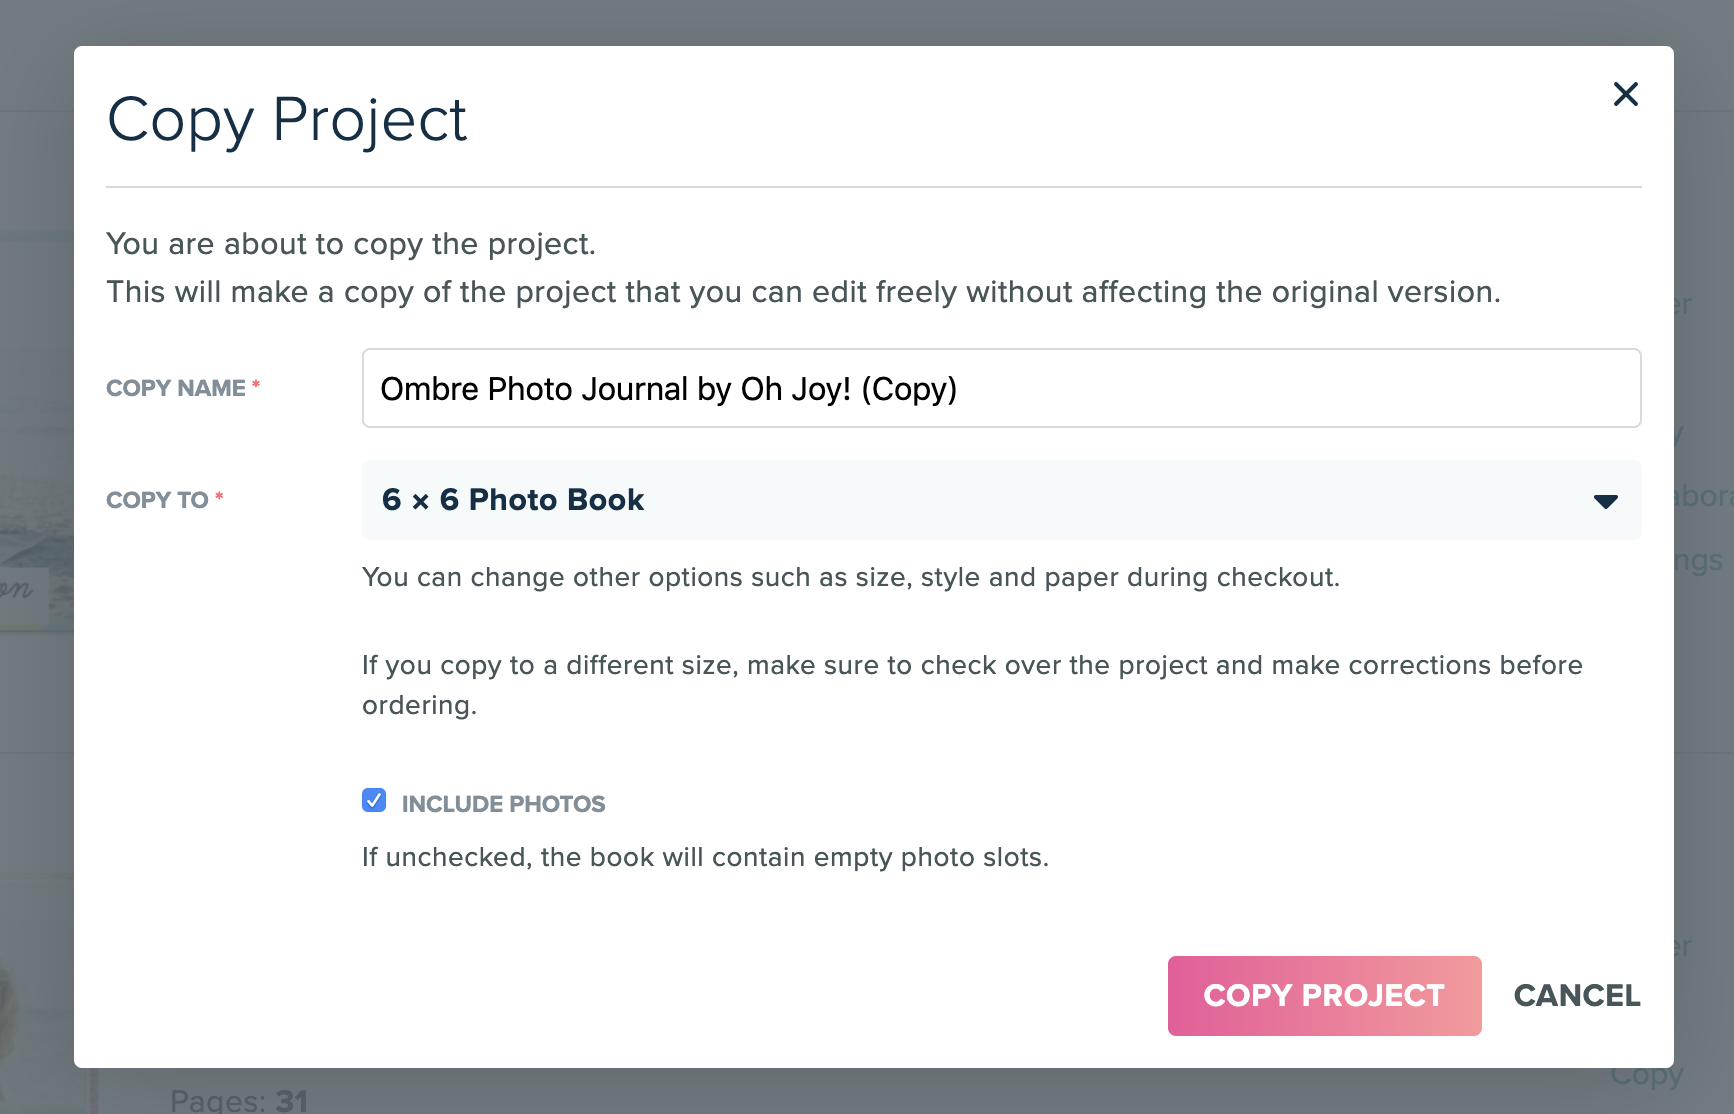
When you click Copy, you’ll see this pop-up window:
In this pop-up window, you can change the name of your new copied project, select what size you’d like your copy to generate in (for example, maybe this time you want the photo book in an 11x8.5 instead of the original 8.5x8.5), and whether or not you want the original photos included in your copy.
Once you are done, select Copy Project and your new project will be available under In Progress.
Copying projects is a great way to keep a series of photos books in the same design and look so you can build a memorable and aesthetically pleasing set on your bookshelf.
How to Copy Your Project into a Different Size
Have you ever created a book, only to find that you’d like a bigger version? How about a project where you find that all your original photos are smaller than you had thought, and now you need to create your book in a smaller size? Believe us, it’s happened to the best of us! Luckily, Mixbook has created a very handy feature that allows you to recreate your book in a different size in a matter of minutes!
First, log in and go to My Projects. Locate the project you would like to copy from your In Progress, Ordered, and Archive tabs.
One you have located it, click on the Copy link located to the right of your thumbnail.
After you click on the Copy link, you’ll get this pop-up window:
In the Copy Name box, you can edit the title, so this copy is distinguishable from the original. If you do not want to change the title, the word “(Copy)” will be added to the end of the original title. If you’re not sure what to title the new copy yet, don’t worry! You can always change the project’s title later.
The next option you will see is the “Copy to” drop-down menu. If you are making a size duplicate of your project, you do not need to change this option. If you want to copy your project to a smaller or bigger size, click on the drop-down menu and choose the new size.
Please note, we always advise that you check over your copied project, especially when changing sizes. As proportions may not be the same, you will want to double-check to see that everything is in the right place.
Your last option is whether or not to “Include Photos.” If this box is checked, all the photos in the original project will be copied over and placed in the new project accordingly. If this option is not checked, the tool will not copy over your photos to your new project. Instead, your copied book will resemble a book of templates.
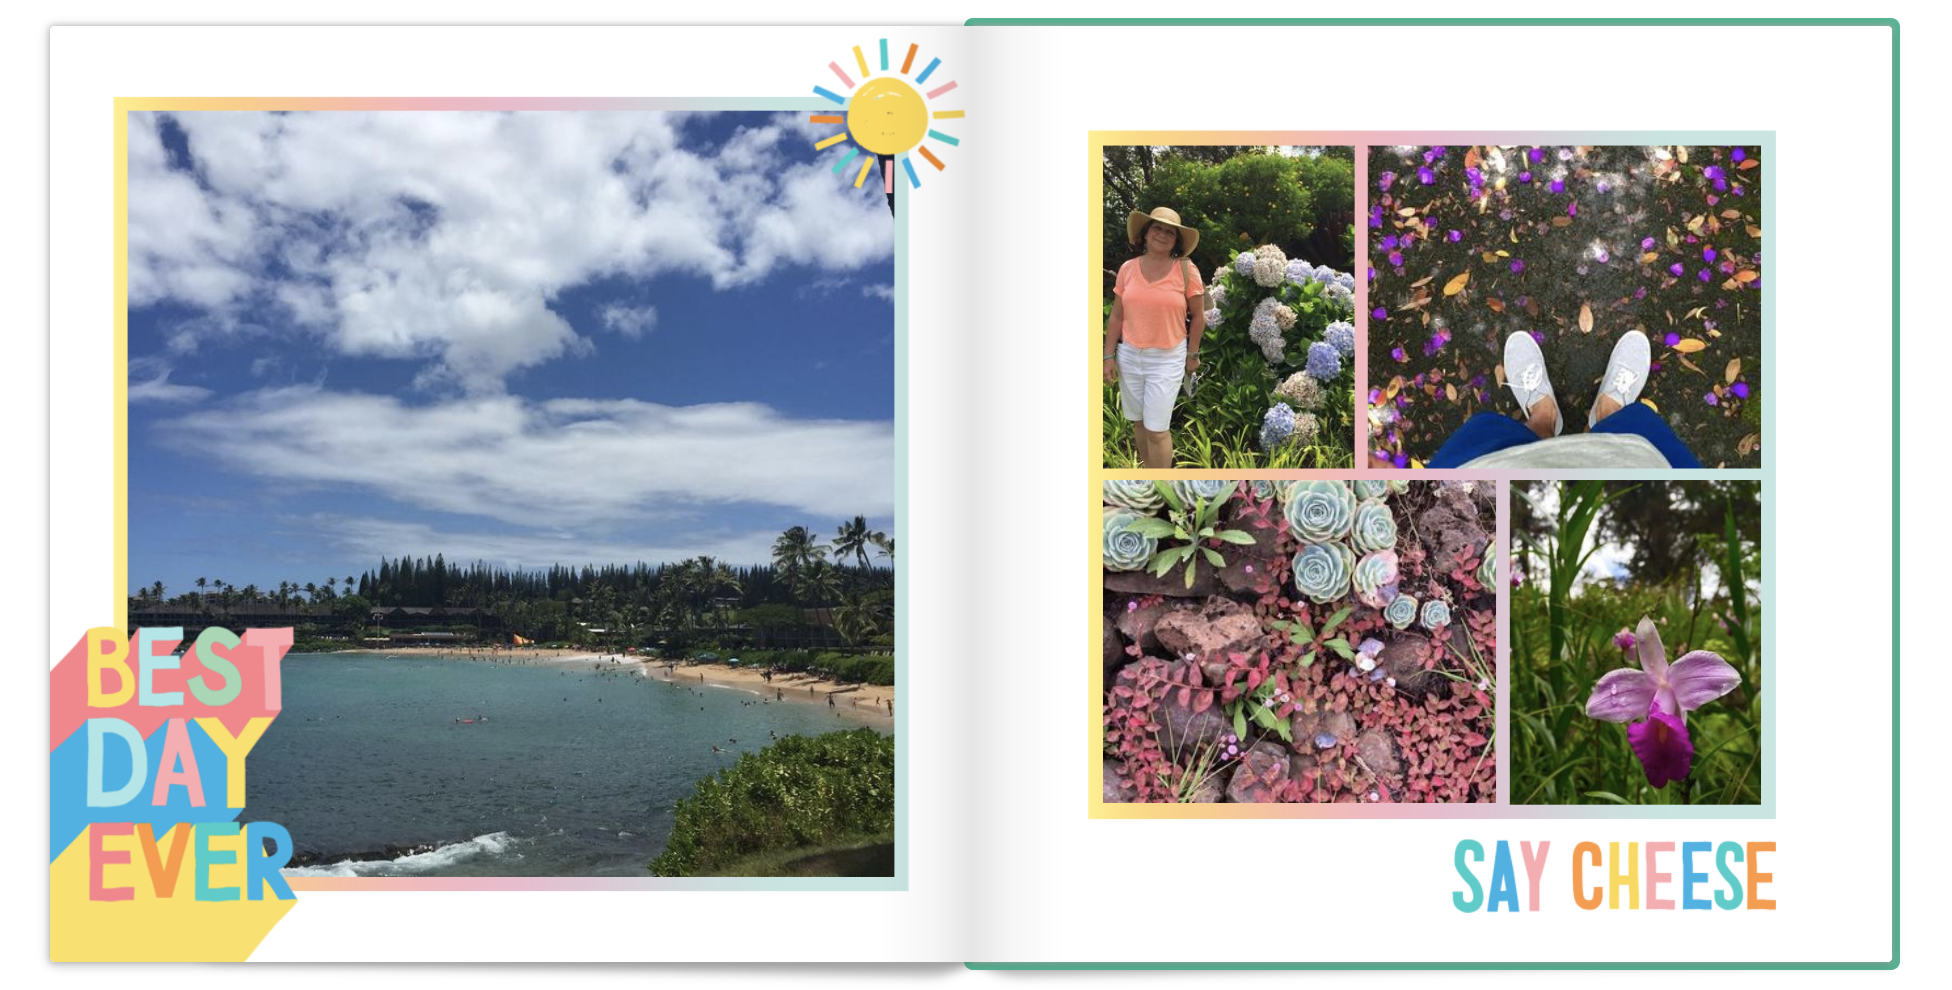
The following photo shows pages two and three of the original Contemporary Seasons project.
This next photo shows pages two and three when a copy is made and the "Include Photos" box is not selected:
As you can see, the layout, backgrounds, stickers, and text are all copied over, however, the photos are not included and have now become photo slots.
Once you have chosen your copy options, hit the pink “Copy Project” button and you’re finished! Copy accomplished!
Once the project has finished copying over, you will receive the following confirmation.


