How to Turn Kid's Art Into a Photo Book
Last Updated: April 12, 2022
Kids are prolific when it comes to creating art. Their imaginations drive them to execute multiple studies on a single subject—a proclivity that makes even the most disciplined artists blush. As a parent, you love seeing the abundance of creative outpouring. But most parents that like to keep their home relatively streamlined and tidy, shudder at the sheer volume of work that bursts from backpacks and piles up on the craft table.
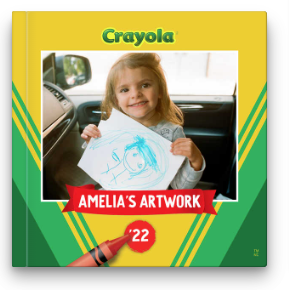
Our solution? Publishing kids’ artwork in a photo book.
Popular Kid Artwork Photo Book Themes
1. Make an Art “Inbox”
To stay on top of the influx, while paying due respect to their creativity, we suggest keeping an art “inbox.” Scan the good stuff and surreptitiously scrap the rest. You can then decorate the fridge and bulletin boards with the best pieces until the construction paper fades or they’ve entered a new period of artistic expression. For sculpture and mixed media, snap a picture and keep it in a folder entitled “kid art” on your computer’s desktop.
2. Pace Yourself
Occasionally, upload your photos via desktop or phone. Then, when you have time, you can play with layouts based on holidays, themes, awards, etc.
3. Choose a Photo Book Theme
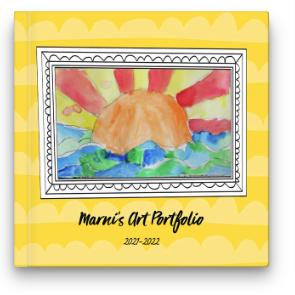
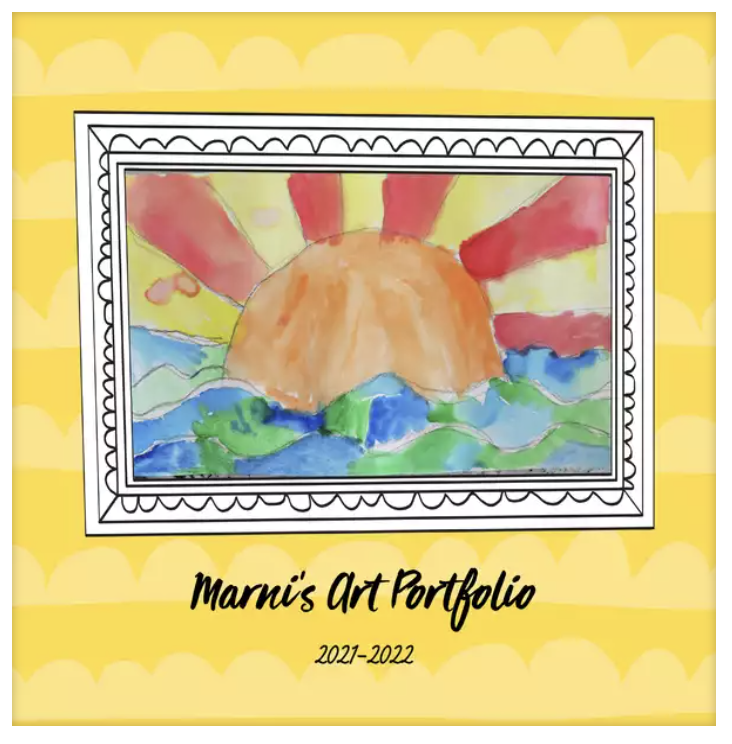
Save Mixbook’s beautifully themed templates for projects that are about a specific holiday or vacation. For kids’ art books, go with a very simple template that lets their creativity shine. I recommend using Mixbook’s My Kid's Art Portfolio Book. We love how this theme creates your own gallery exhibit of artwork! Or you can use a simple Minimal White theme and customize the book however you’d like to.
As long as you keep them few and far between, stickers can enhance your layout immensely and not overpower the art.
4. Snap It, Then Scrap It
One major revelation: when you scan or photograph artwork that features messy items like glitter, pasta, cotton balls, or popcorn (the most dreaded preschool “medium”), you can trash them with NO GUILT and NO MESS. Win-win. One note on this: keep a can of compressed air on hand so you can de-glitter your scanner after you’re done. Also, much as we love the sculptures that come home, there really is only so much space in your home for glazed hunks of clay. Snap then scrap, we say (in due time, of course)!
For scanning, we highly recommend using the “PhotoScan” App by Google Photos.
5. Scan Certificates & Awards
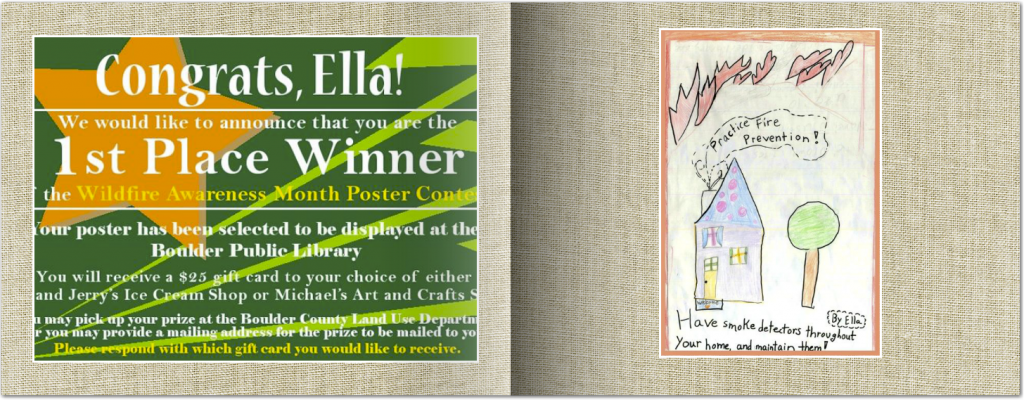

Paper awards like this aren’t quite significant enough to frame, but what a shame if they were lost forever. Placing them in a book like this saves the memory—and you can feel free to recycle the original paper certificate.
6. Curate A Series
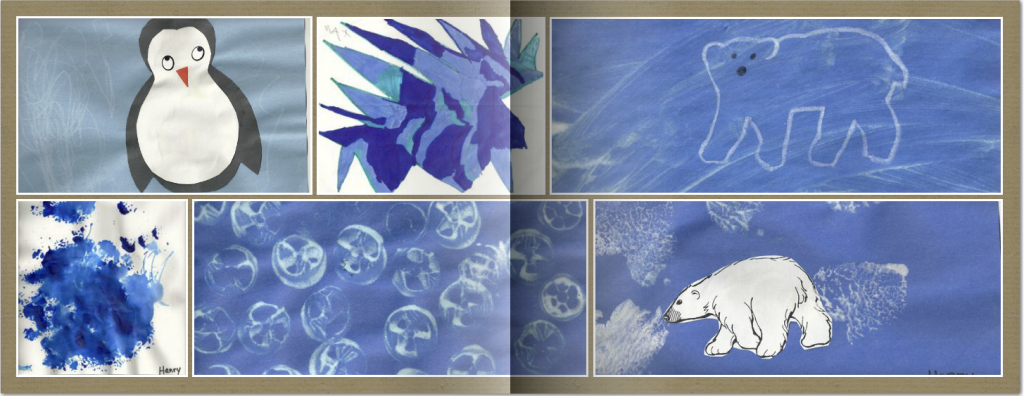
Individually, perhaps none of these pieces would have made the cut, but together they create a series like “the Blue Series” where the whole is greater than the sum of the parts. Kids will be so proud to see them showcased this way.
7. Get Creative
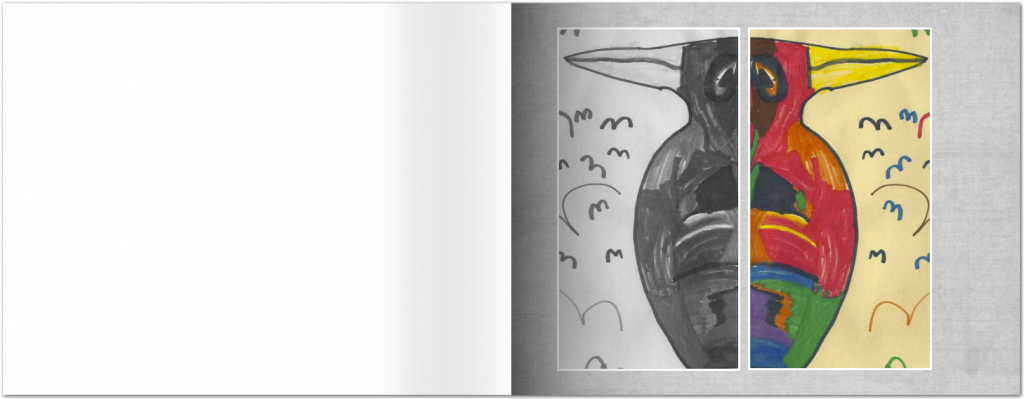
Another trick we love is taking child’s artwork, flipping it and creating a reflection of the original in black and white. It’s not that the art itself needs embellishment; we think it’s just fun to have your child see that you can enhance the experience of art by playing with it.
8. Make Notes
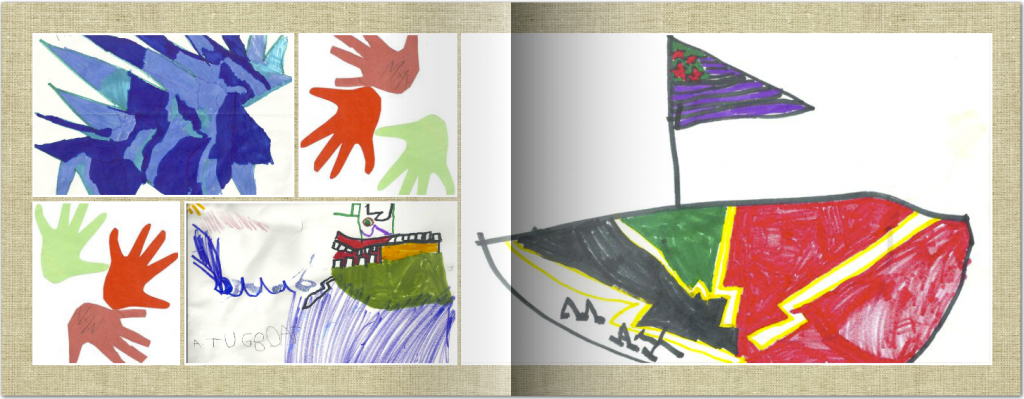
Don’t forget to include your kids’ perspective or anecdotes under the artworks. Include a title for the piece or the story behind in their own words.
Enjoy living a more decluttered life by turning physical artwork into art books that will last generations. Once your child grows up, they’ll love having this memento to pass down or look back on.


