Buyer's Guide to Creating the Best Canvas Prints
Canvas photo prints have become a popular way to turn your favorite photos into high-quality wall art. Fully customizable by size, orientation, and frame options, these creative works of art are ideal for wall or shelf displays and suit all decor styles from traditional to modern. You also have countless options for photo editing and layout using Mixbook’s easy-to-use Canvas Prints Editor.
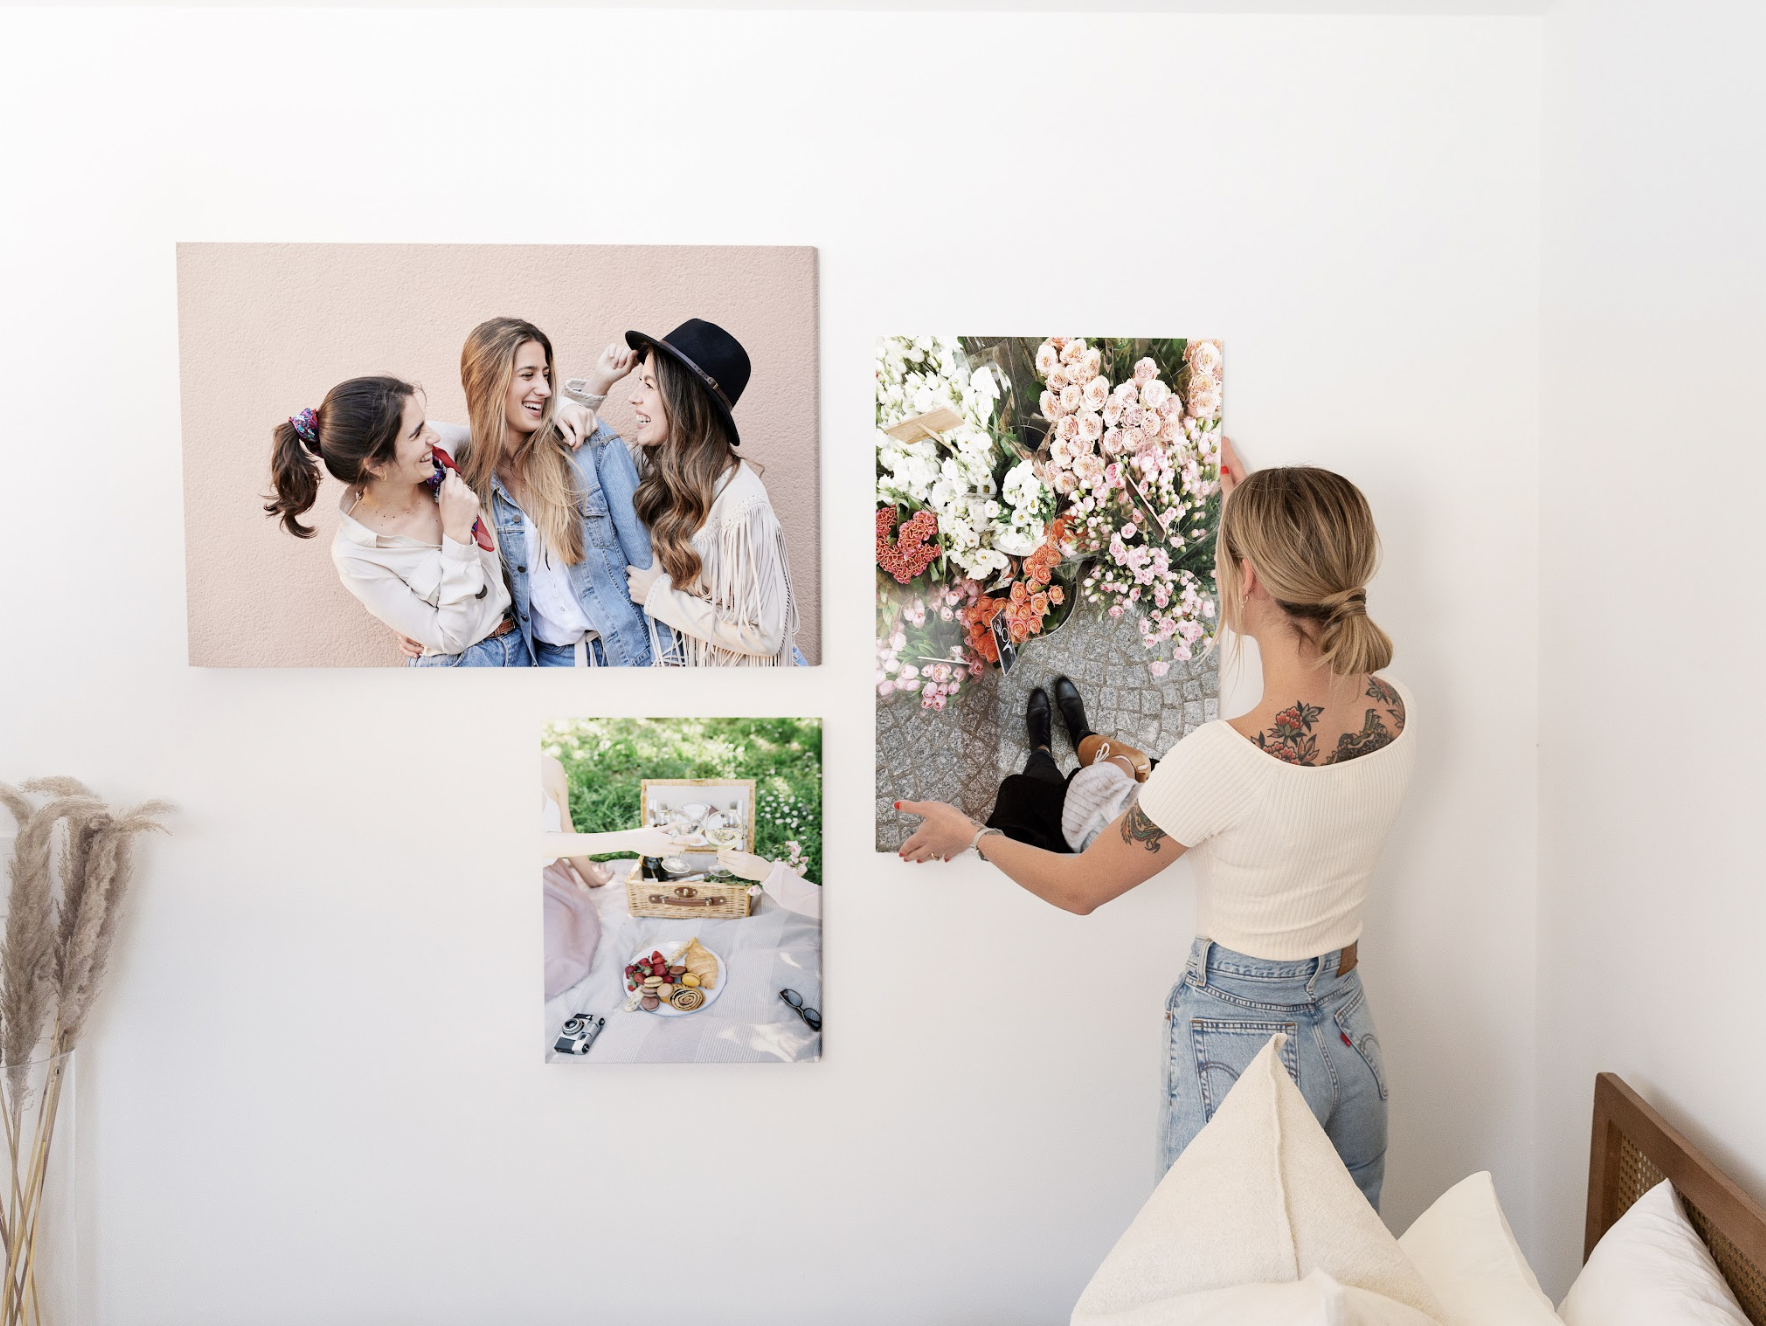
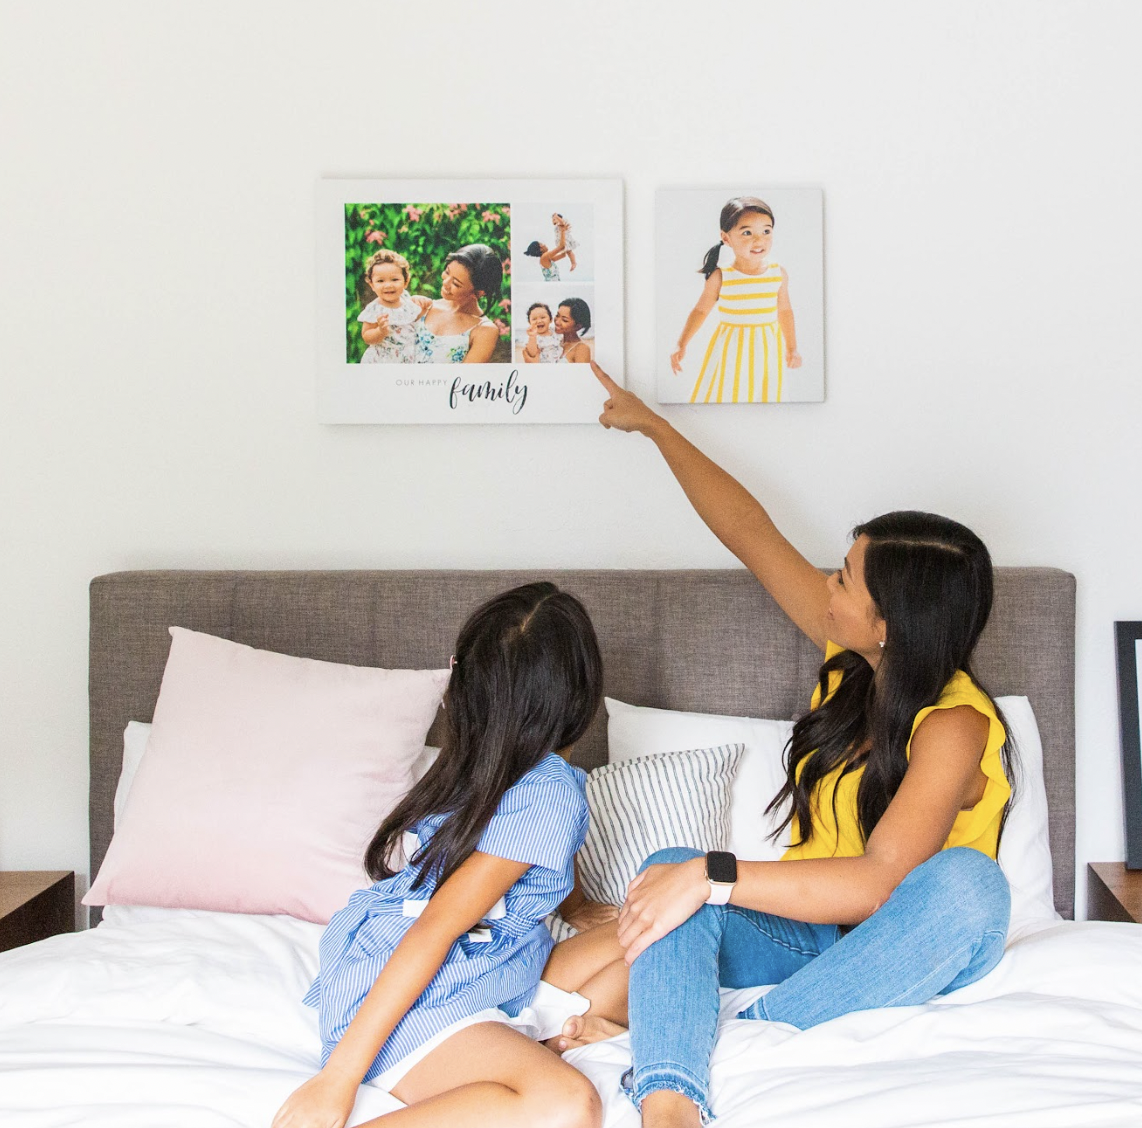
Display your perfect moments on your walls. Get layout ideas here.
With just a few clicks, your best photos of special moments and milestones like wedding and graduation photos can become canvas photo prints to display around your home. Even that sweet picture of your toddler’s big grin at the playground one random Wednesday can be stunning wall art. Don’t forget those 300 photos of a Hawaiian sunset — at least one of them is perfect. That postcard-worthy pic can be enlarged and become a gorgeous canvas print to grace your living room.
What Is a Canvas Photo Print?
A canvas photo print is a photo — or any digital image — printed onto gallery-quality textured canvas and mounted over a fully finished backing. Mixbook’s canvas photo prints have precisely finished corners, so your photo wraps around all four side edges, never stretching or sagging.
The best canvas prints are lightweight but sturdy. This solid construction makes the canvas print stand out from the wall when mounted, and it allows you to prop or stand them on a shelf or windowsill. Mixbook uses custom-developed, pigment-based archival inks to create the best canvas prints that can last a lifetime.
Types of Canvas Prints
One of the best canvas print features is versatility. Along with an endless variety of photo options — you know you have thousands in the cloud — Mixbook’s canvas prints come in five sizes, two orientations, and framed or unframed formats.
In portrait or landscape orientation, choose from these five canvas print sizes:
10” x 8”
14” x 11”
20” x 16”
30” x 20”
36” x 24”
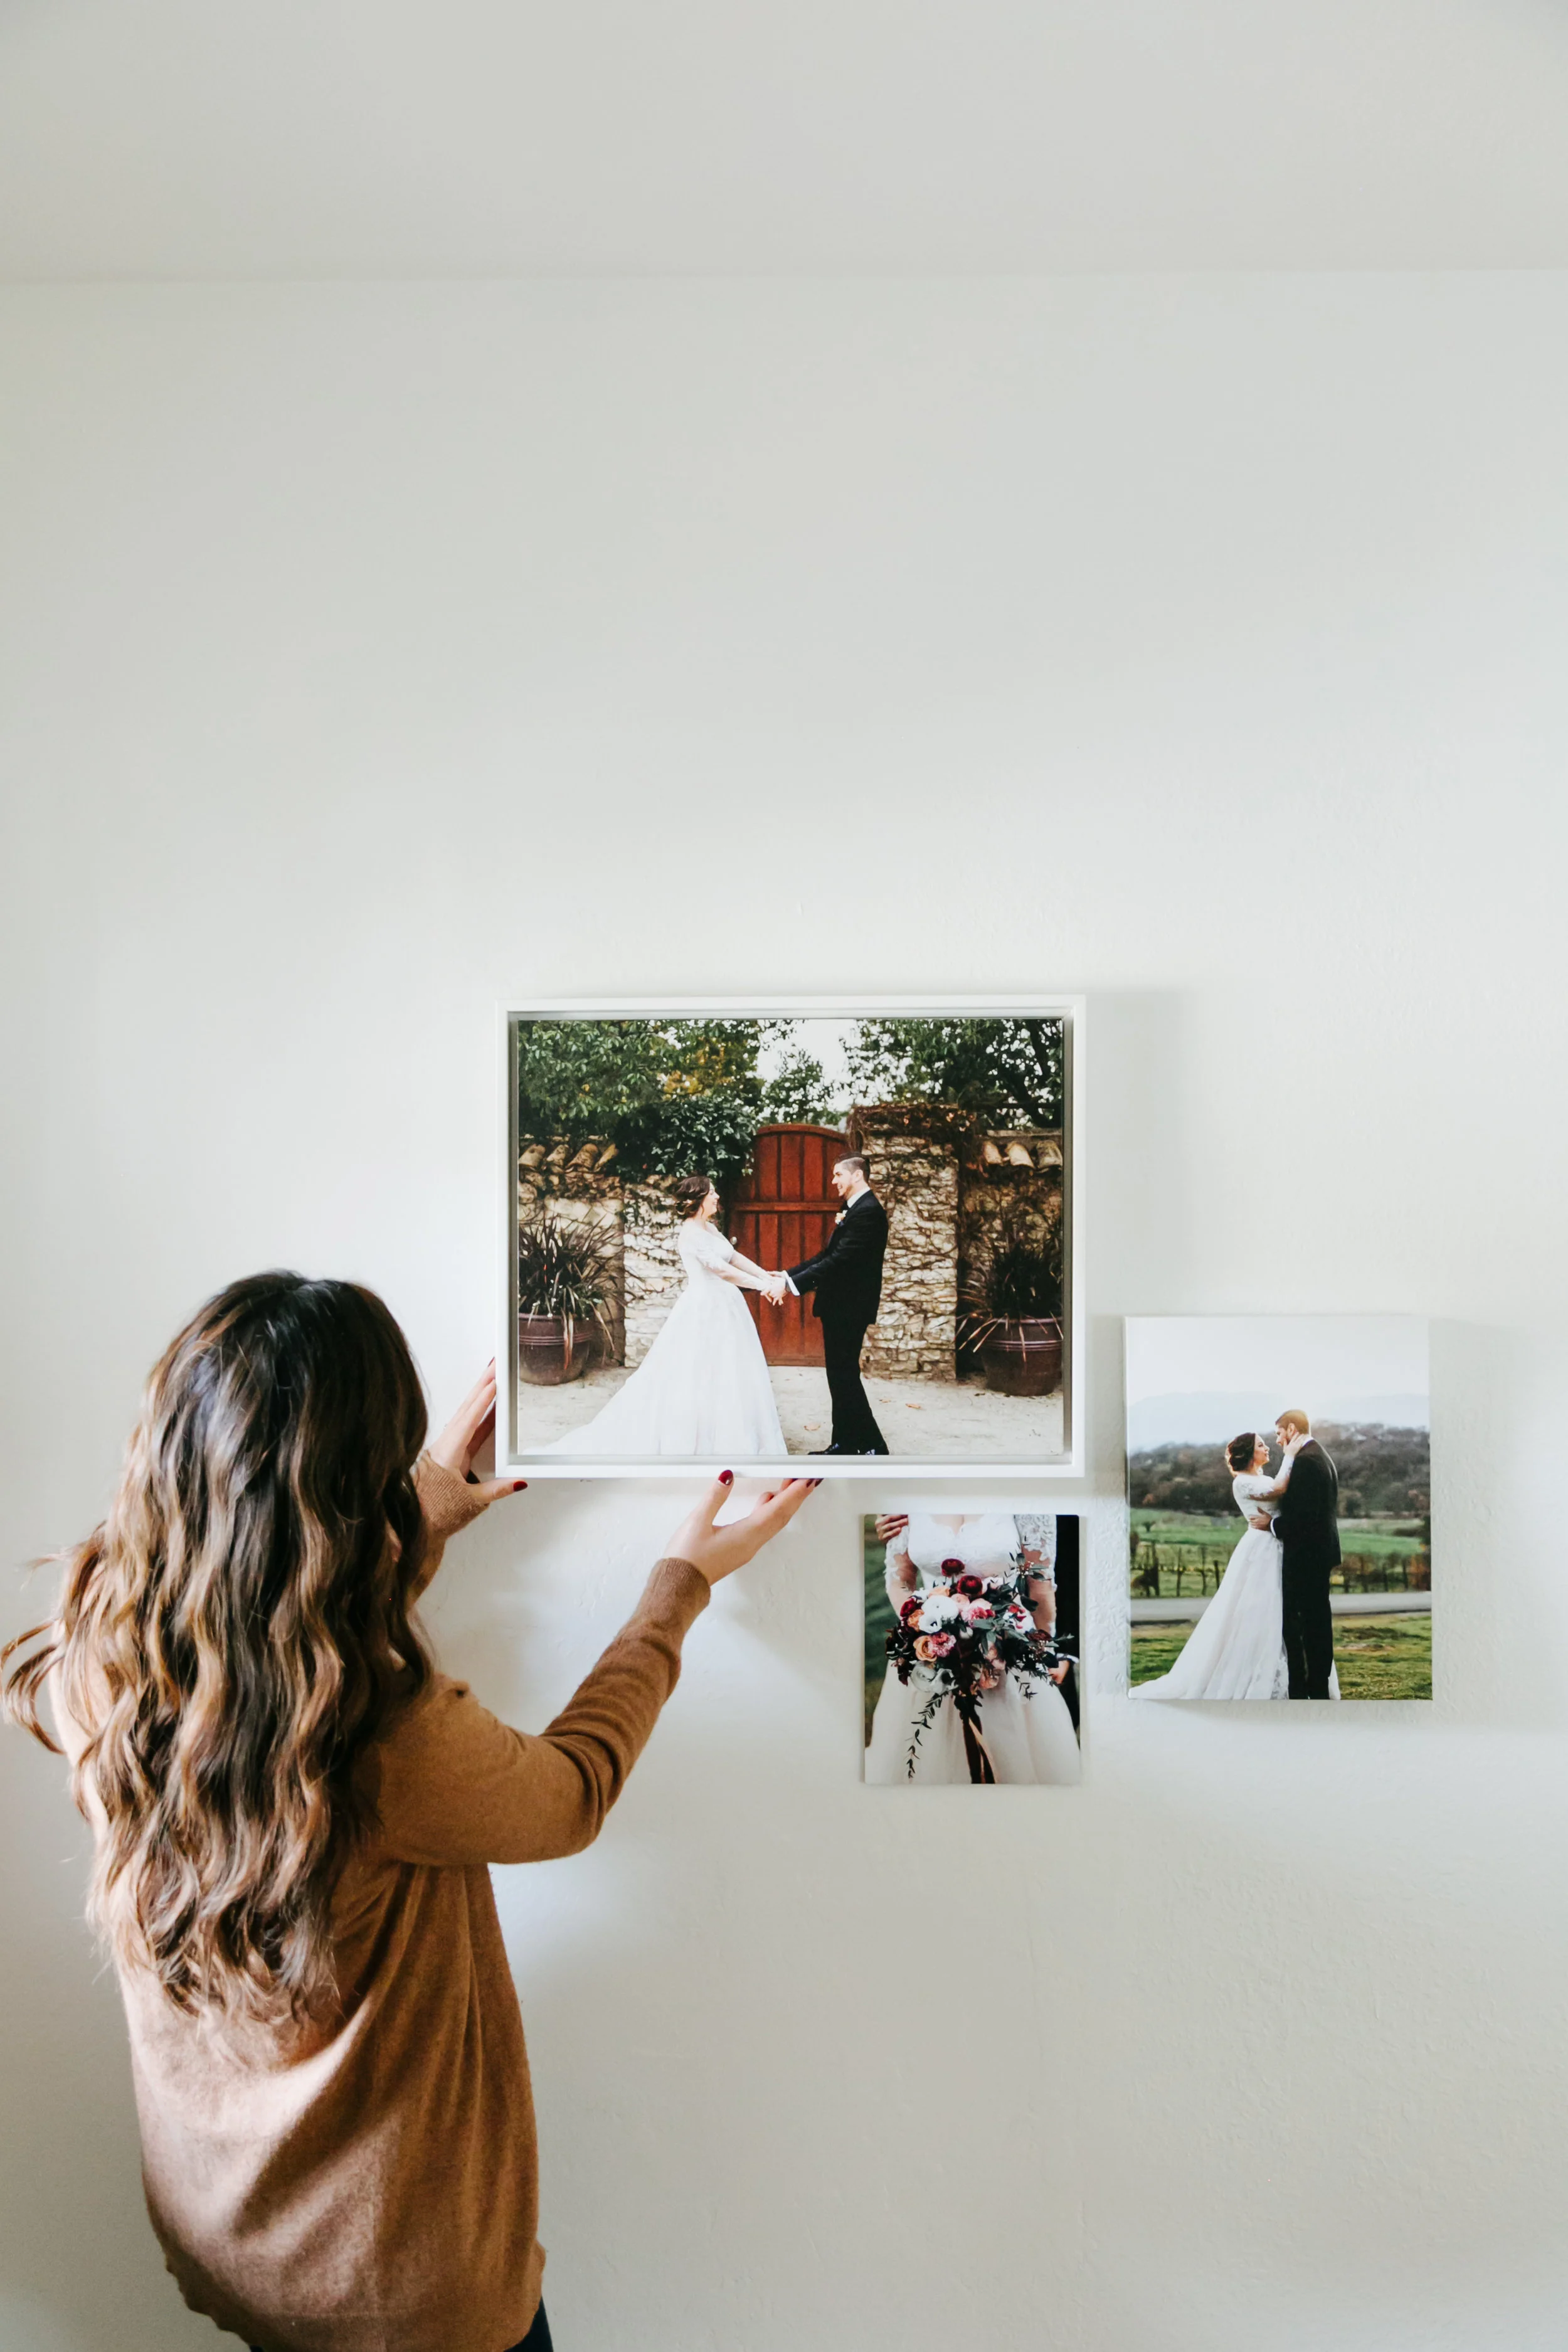
You can also choose between unframed canvas prints, which have gallery-finished edges, or framed canvas prints in white, black, or espresso floating frames. These sleek, minimalist frames add dimension and style, and allow you to complement or match the decor of the room where you will display the canvas photo prints. Both framed and unframed canvas prints come ready to hang.
Choosing the Best Canvas Photo Prints
The best canvas photo prints start with the best photos. Spend some time looking through your favorite photos or digital images before making a choice. For the best quality canvas prints, Mixbook recommends using .jpeg files only, with at least 300 dpi and 4MB file size (maximum file size is 15 MB). You can use the Canvas Prints Editor tool to make basic edits to your photos, or use any preferred photo editing software before uploading the file to Mixbook.
Remember, it’s not only photographs that can be transformed into canvas prints. You can also print digital illustrations, high-resolution scans of physical photos or images, or photos of your children’s art projects. That finger painting on wrinkled construction paper that you swear belongs in a modern art gallery? Take a close-up photo and turn it into a gallery-worthy canvas print for your own private exhibit.
Consider creating a set of canvas photo prints, such as a diptych or triptych, which are sets of two or three photos displayed in a row. These could be the best three photos of your kids as babies, unified by a black and white filter and matching frames. How about two of those cool architectural shots you took during a city tour, zoomed in to highlight artistic details? Create a themed display, such as several generations of wedding portraits, or four seasons of the apple tree outside your home. A few photo canvas prints can be the star items on a gallery wall.
How to Make a Canvas Print
It can definitely be hard to decide which of your photos to turn into canvas prints. Fortunately, once you’ve made a decision, creating the print using Mixbook’s Canvas Prints Editor tool is very straightforward. Here are the basic steps:
Click “Start Your Canvas Print”
Choose “Add from Desktop,” “Add from Phone,” or import your files from other services including Facebook, Instagram and Google Photos.
Select your photo, multiple photos, or a folder of photos. The uploaded photos will appear in the left-hand panel of the editor.
The default canvas print size is displayed in the upper left corner of the screen. Click “Change” to select your canvas print size, orientation, and frame choice, then “Back to Edit.” Note that the price displayed at the top right of the screen updates with these selections.
Click and drag your photo onto the “canvas” in the middle of the screen. A single photo will be automatically sized and oriented to fit the canvas. If you drag multiple photos onto the canvas, you can click and resize them as desired.
Click on a photo on the canvas and explore the editing toolbar. Options include fill page, rotate, and flip. For multiple photos, try swap, forward, and back to rearrange their positions.
Explore the edit options, which include adding a border, shadow, effects (black and white, sepia, lighten, darken, 80s filter, yellow filter), adjustments (brightness, saturation, contrast), opacity, and shape (rectangle, circle, triangle, star, heart). Note that some effects are visible only with photos that don't fill the whole canvas.
Explore the tools on the panel to the left. These include suggested layouts for up to eight photos, backgrounds, stickers, and text options.
When you’re happy with your canvas photo prints, click “Preview” to examine the results. You can go back and continue editing, or click “Order” to purchase the prints.
Ready to Make a Canvas Print?
You might have hundreds of ideas for canvas photo prints, or maybe you know exactly what you want. You can order your print in minutes, or set aside a few hours to play around with the project. Whatever your approach to creating the best custom canvas prints, it all starts when you head over to Mixbook’s Canvas Prints Editor.


